Create Locations
Locations represent specific areas within a plant where assets and maintenance activities are managed. For example, a plant may have locations such as Production Floor, Warehouse, or Cooling Unit Area. Defining locations allows for better tracking of assets, and maintenance tasks in a structured manner.
Note:
You can download already created data from SAP through
synchronization.
To create or add a location:
-
Click the Master Configuration module on the left side pane and click
Locations.
Figure 1. Locations Screen 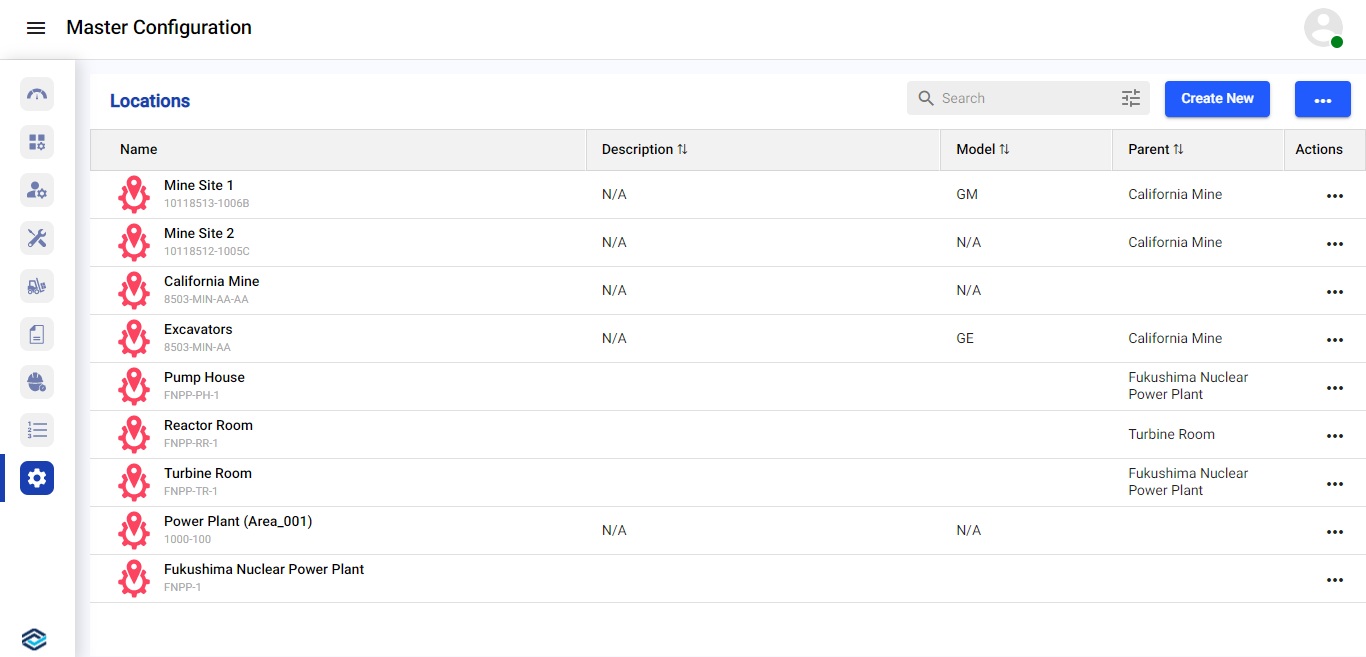
-
Click Create New and select Add Manually.
Or
Click Sync from SAP to manually sync and export already created data from SAP server.
Or
The data synchronization can automatically occurs based on the configured schedule.Note:There should not be any existing master data to sync the data.Figure 2. Add Location Details 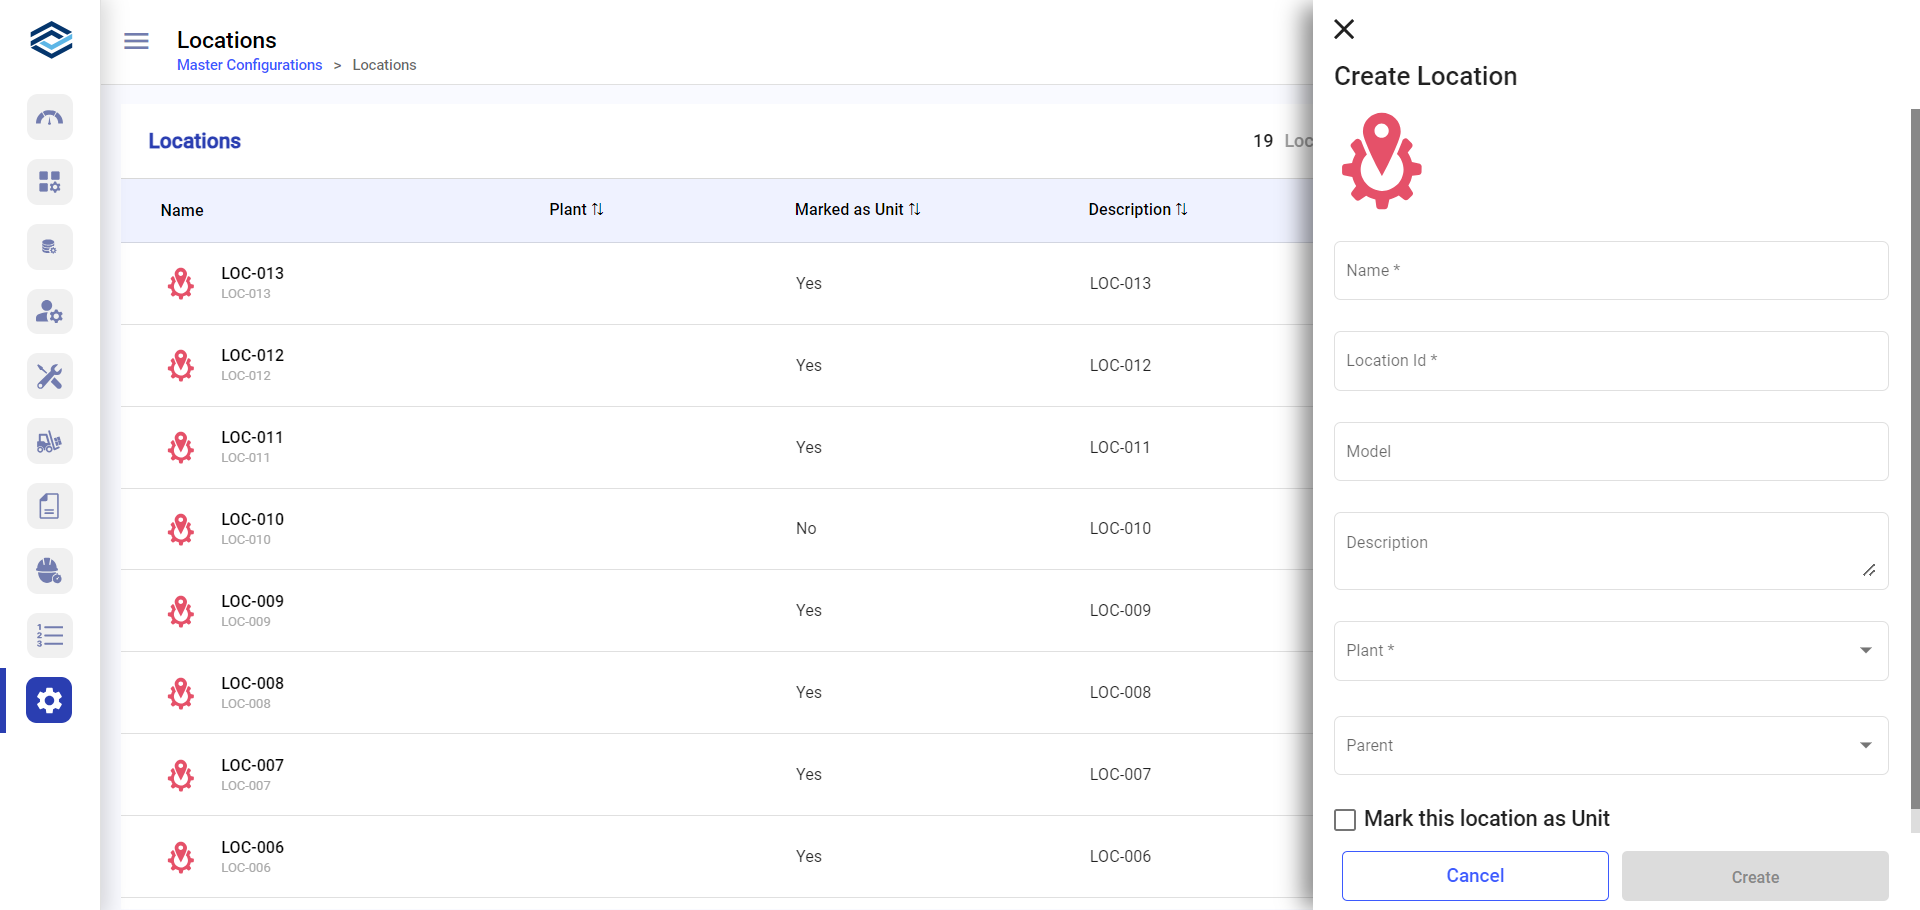
-
In the Create Location window, enter location details like Name,
Location Id, Model, Description, Plant, and
Parent.
Note:If the Location ID already exists, an error message “Location ID <> already exists” is displayed. Use another ID.
- Select the Mark this location as Unit to assign users, round plans, and shift handovers at unit level.
-
Click Create.
The new location is created successfully.
Note:- To download the location template, in the Locations screen, click the More icon (next to Create New) and select Download Template.
- To modify location details, in the Locations screen, click the More icon next to the location and select Edit.
- To delete a location, in the Locations screen, click the More icon next to the location and select Delete.
- To deactivate a location, in the Locations screen, click the More icon next to the location and select Deactivate. You can see the deactivated location in the Inactive module under the Locations tab.