Create User Groups and Add Users
User Groups allow you to organize users with similar roles and responsibilities into a single group, making it easier to manage access and permissions. Instead of assigning permissions individually, you can assign them at the group level, ensuring consistency and reducing administrative effort.
For example, all Technicians in a plant can be part of a Technician Group with predefined access to Work Orders and Issue Reporting, while Supervisors in a Supervisor Group may have permissions to assign and monitor work orders.
By using User Groups, you can streamline user management, ensure role-based access control, and improve operational efficiency.
To create a user group and assign it to user:
-
Expand the User Management module and select User Groups on the
left-side pane.
Figure 1. User Groups Screen 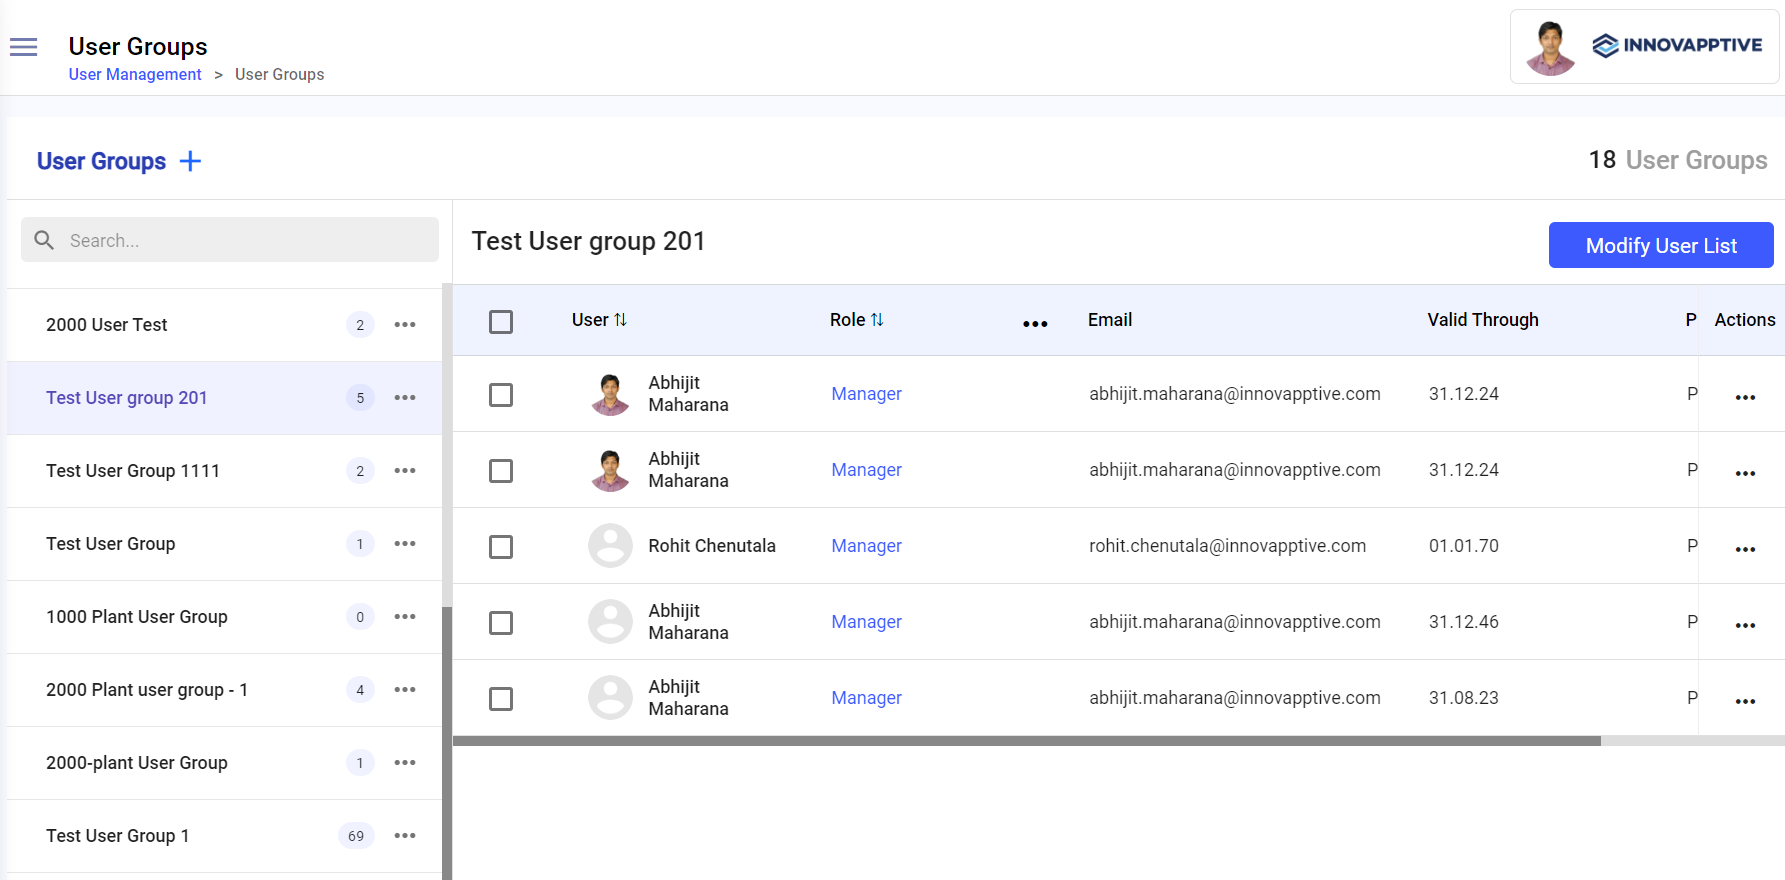
- In the User Groups screen, click the Add icon next to the User Groups.
- Select the Position Based or User Based option.
-
In the Create User Group window, fill in the following details:
- Enter the user group name in the Name field.
- Enter the description of the user group in the Description field.
- Select the plant from the Plant drop-down.Expand the down arrow icon to select the sub-modules.
- Select the unit from the Unit drop-down.
- Click Next.
Figure 2. Add User Group Details 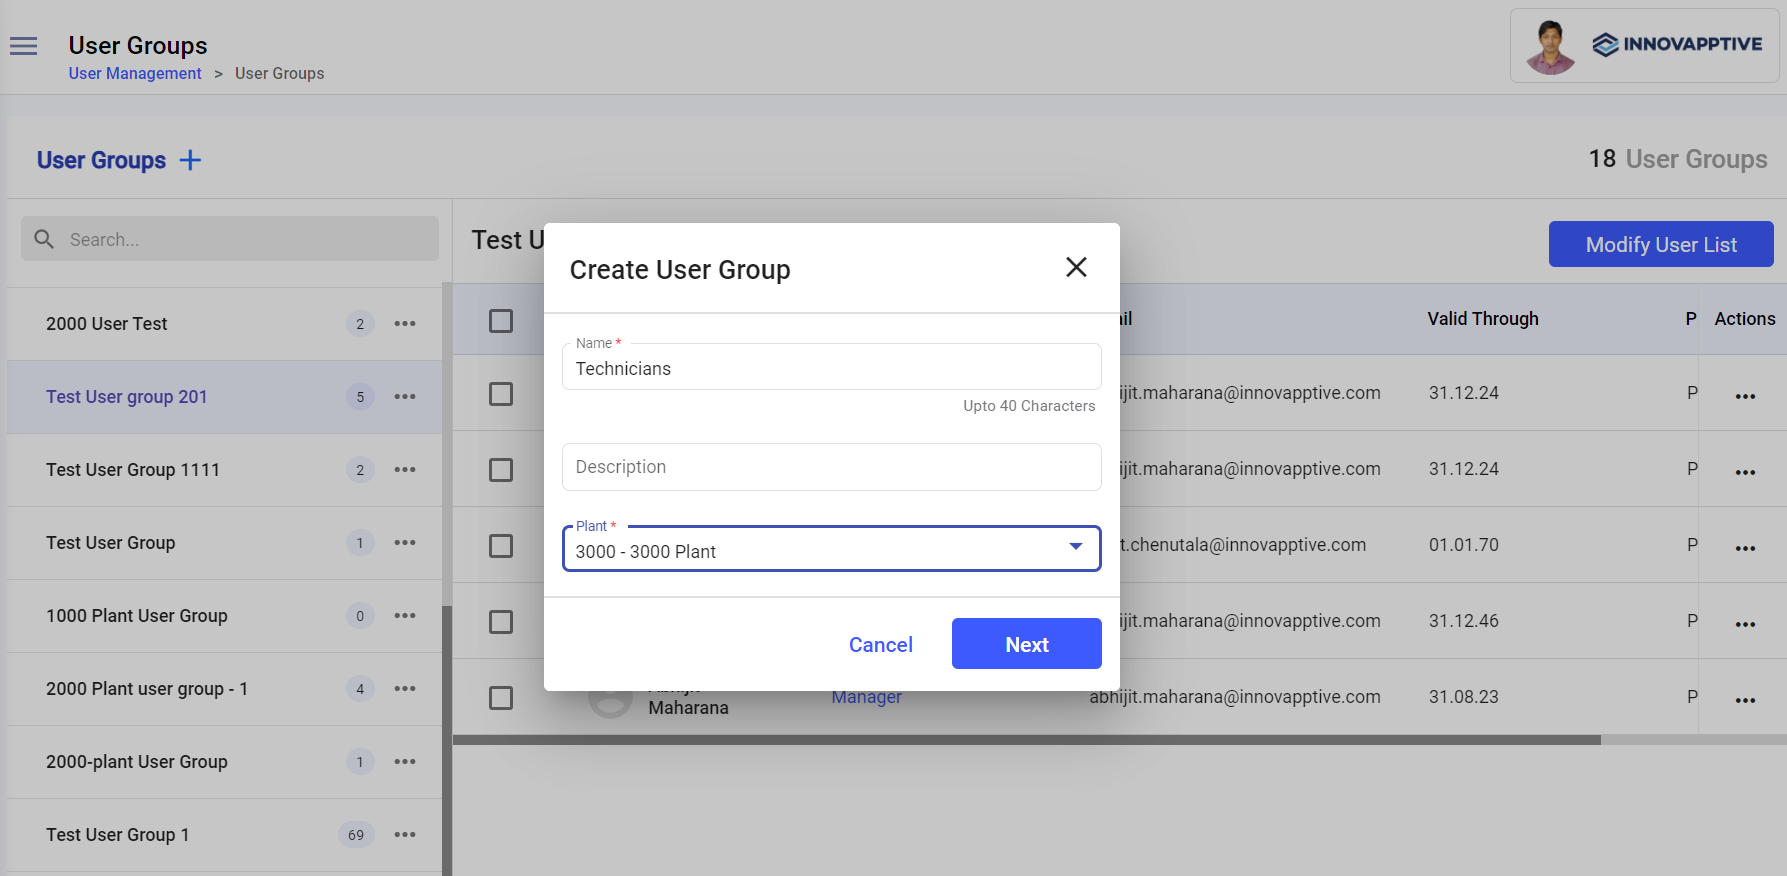
-
In the Select Users window, select relevant users and click
Create.
The user group is created and you can see it on the left section.In this screen, you can,
- Copy the user group using the More
 icon > Copy option next to the user group on the left-side
section.
icon > Copy option next to the user group on the left-side
section. - Delete the user group using the More
icon > Delete option next to the user group on the left-side
section.
- Edit the user group using the More
icon > Edit option next to the user group on the left-side
section.
- Copy the user group using the More
Modify User List
To modify users list:
-
In the User Groups screen, select a user group from the left
section.
The list of users associated with the selected user group is displayed on right section.
- Click Modify User List on the right side.
-
In the Select Users window, deselect the checkboxes and click
Done.
Figure 3. Modify Users 
The users are removed from the user group.
Note:You can also,- Click the More icon next to the each user and
select Remove User.
- Select the check box in the User column and click Remove User at the bottom to remove all the users at once.
- Click the More