Update User Preferences
You can select a Plant, Unit, Position, or Shift in the User Profile screen in case you missed it while logging in. This functionality helps you synchronize only the required data relevant to the selected plant.
Note:
You can choose preferences for the Plant, Unit,
Position, or Shift only when you are assigned to multiple plants, units,
positions, or shifts. If you are assigned to one plant, unit, position, or
shift, the option is grayed out and the Unit, Position, and Shift values are
displayed based on the selected Plant.
To select or change a plant:
- In the User Profile screen, tap User Preferences.
- In the User Preferences screen, select a plant from the Plant list to sync data.
- Select Unit, Position from the list to sync relevant data.
-
Select a Shift from the dropdown list.
Note:The Shift dropdown automatically updates based on your Plant, Unit, and Position selections.
- If only Plant is selected, the dropdown shows Plant-level shifts.
- If Plant and Unit are selected, the dropdown shows the Unit's shifts. If the Unit does not have custom shifts, Plant-level shifts are shown.
- If Plant, Unit, and Position are selected, the dropdown shows the Position's shifts. If the Position does not have custom shifts, Plant-level shifts are shown.
Figure 1. Select Plant 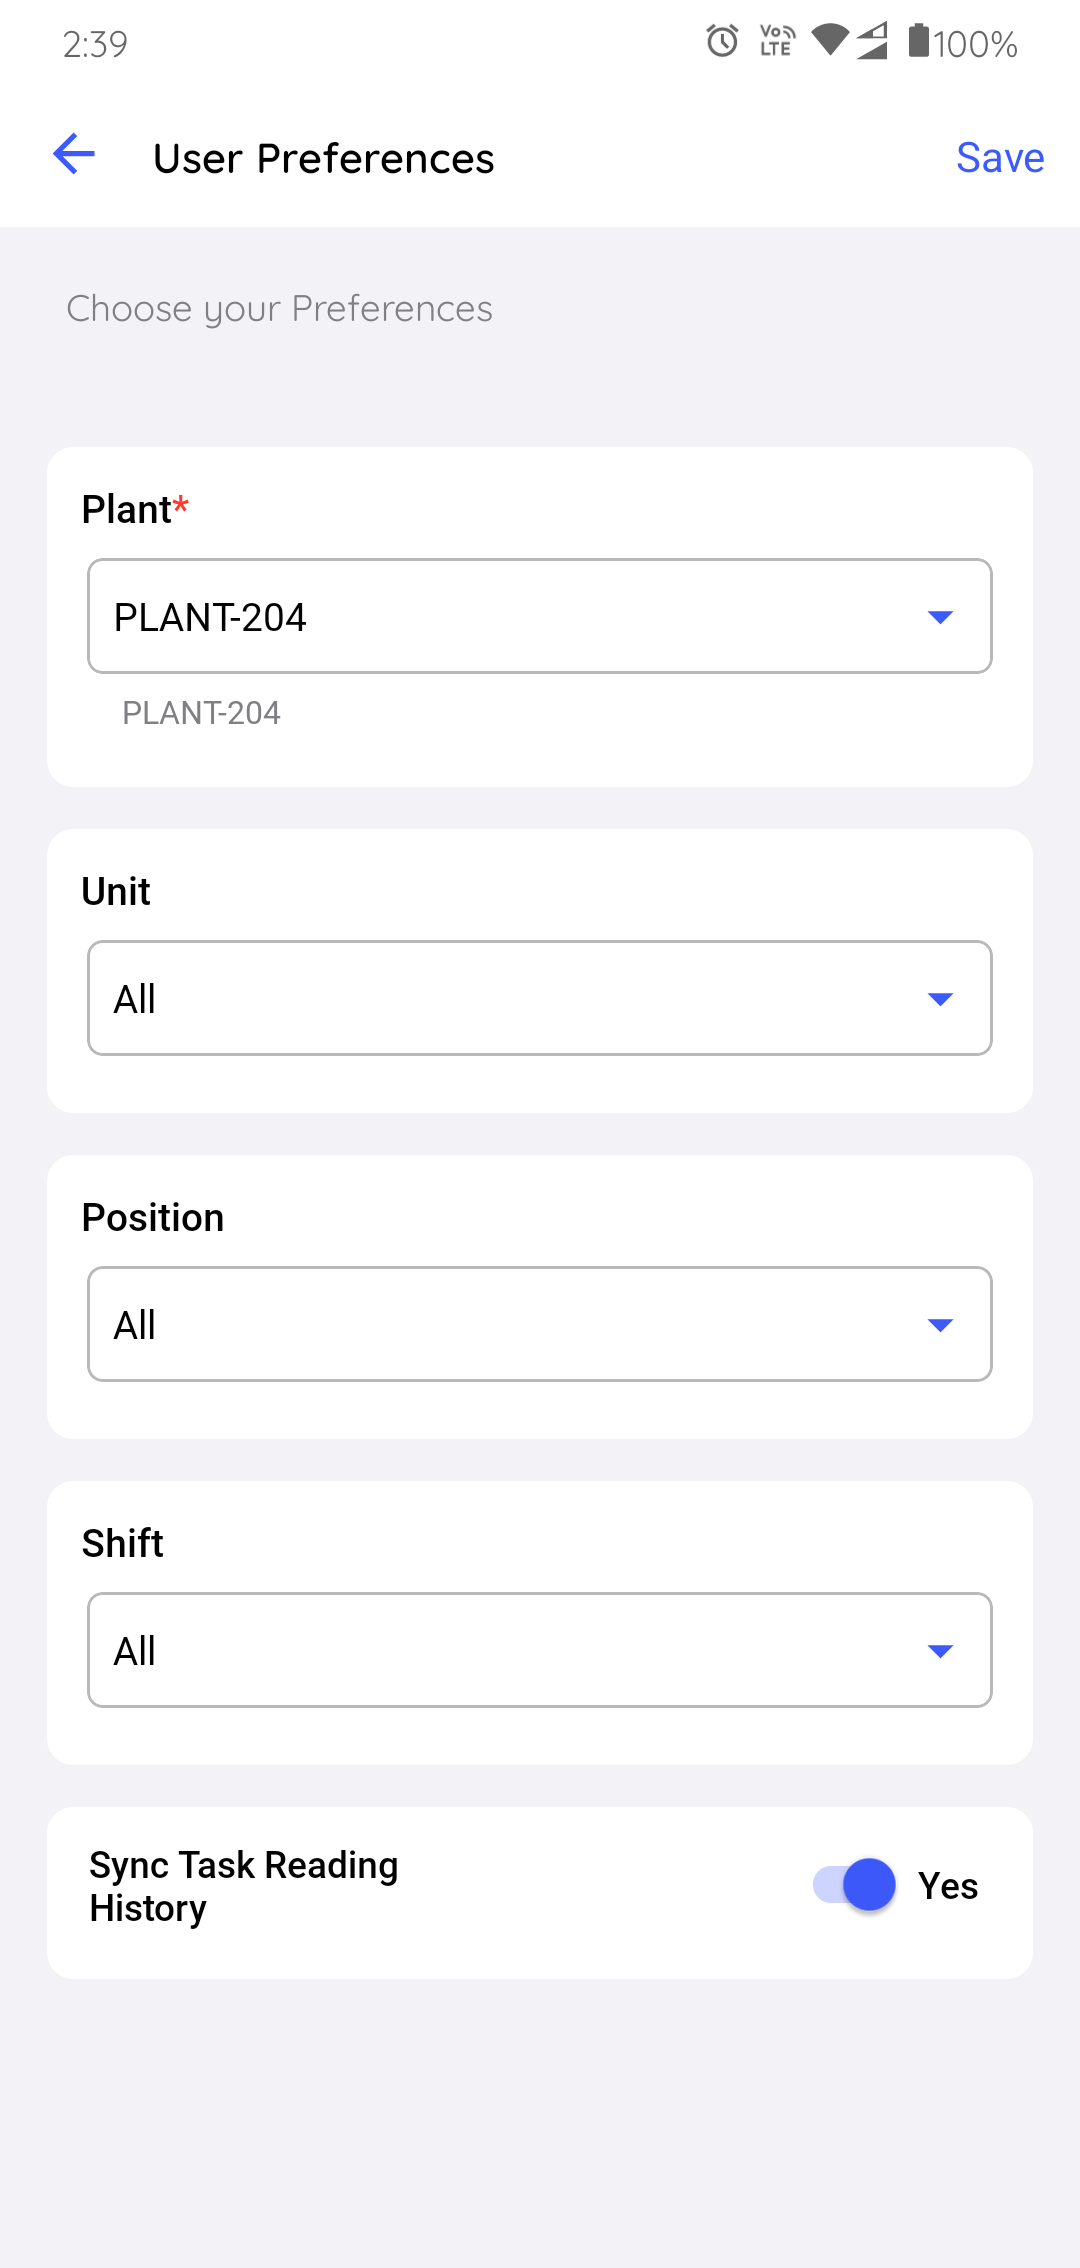
In the Data Filter screen, you can,
Figure 2. Data Filter 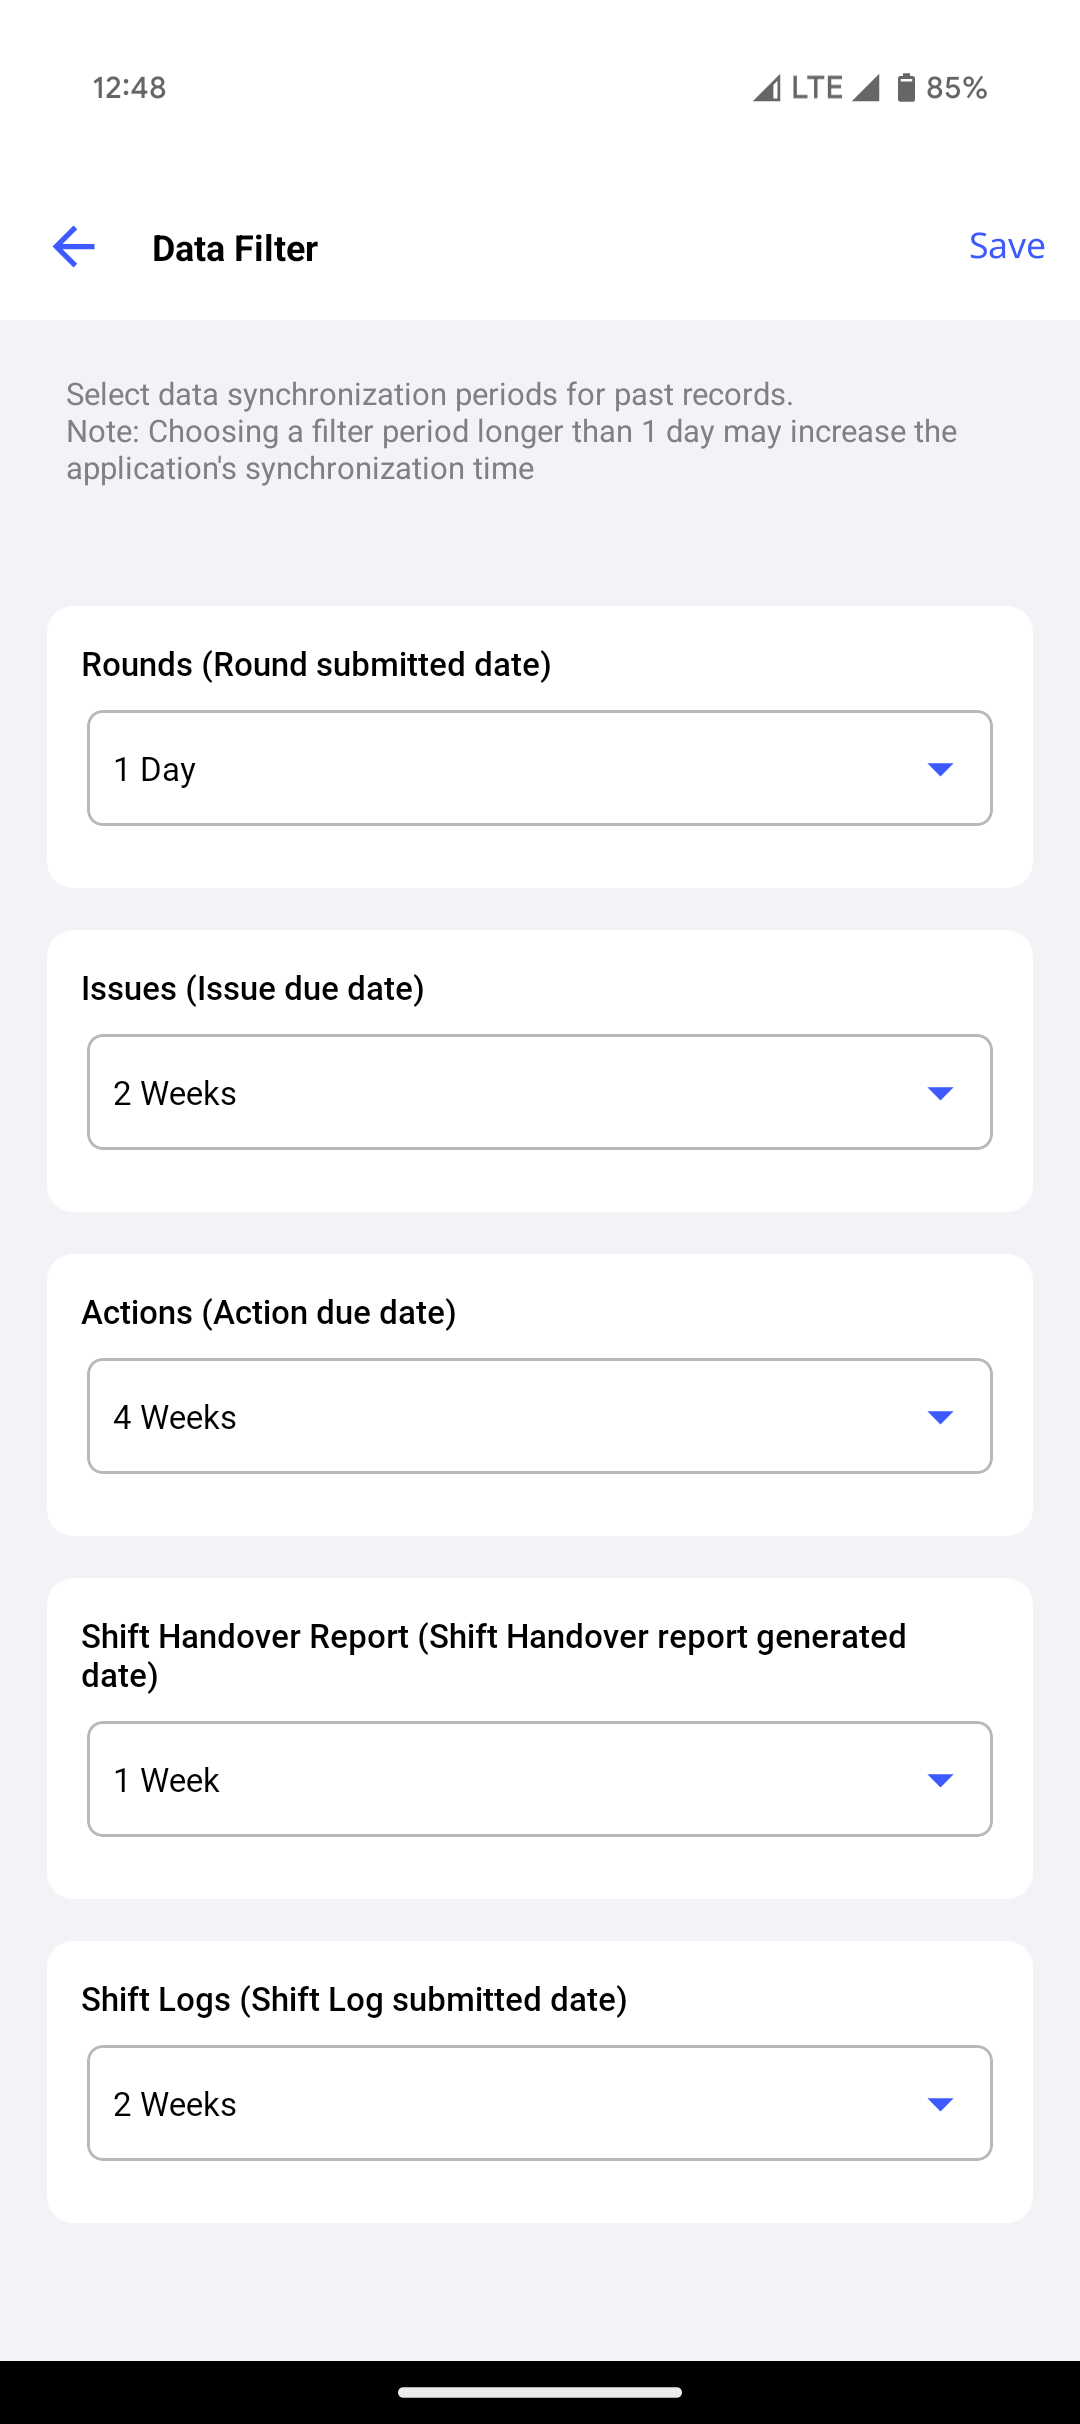
- Access filter options for fields such as Rounds, Issues, Actions, Shift Handover Report, and Shift Logs.
- Locate the drop-down menu next to each field to modify the filters.
- Tap the drop-down to view the available selection options.
- Choose the preferred range (e.g., 1 Day, 1 Week, 2 Weeks, and 4 Weeks).
- Selecting a date range longer than 1 Day (for example, 1 Week, 2 Weeks, or 4 Weeks) increases the amount of data downloaded to your device and will increase the application's synchronization time. Use longer ranges only when you need to review extended historical records.
- Repeat this process for each field that requires filtering.
- Once all selections are made, tap the Save button in the top-right corner.
- The app applies the chosen filter settings and automatically returns to the User Preferences screen.
- Switch on the Sync Task Reading History toggle to sync the last N task reading history.
-
Tap Save.
The application starts syncing the data based on the selected user preferences.