Configure SCP for Push Notification
- Log in to SCP Account.
-
Navigate to your Sub Accounts.
Sub Accounts depends on whether they are created for your account. You can directly create a Tenant in your main account. For example, {your_company_name} can be main account and it could have multiple sub accounts and the sub accounts can have a tenant. {your_company_name} can also directly have a tenant under it.
- Click your Tenant.
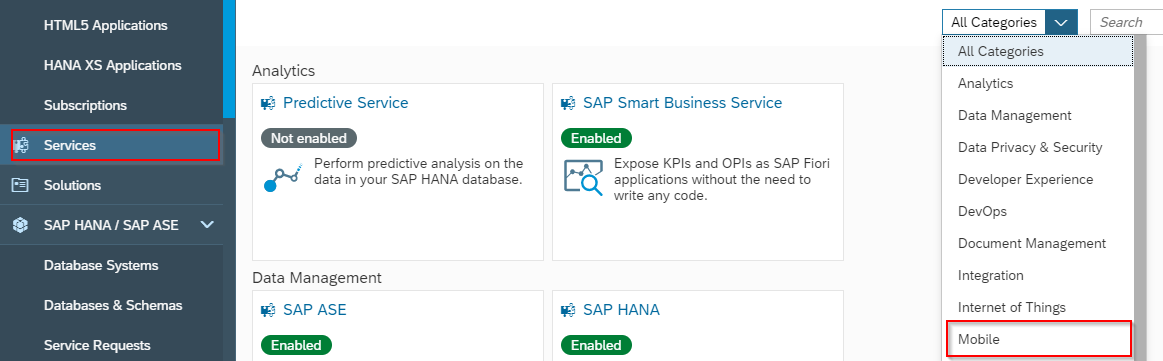
- Click Services.
-
Select Mobile option from All Categories list.
-
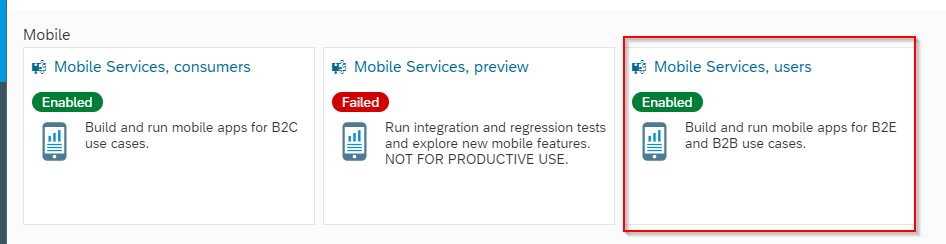
Select Mobile Services, users.
-
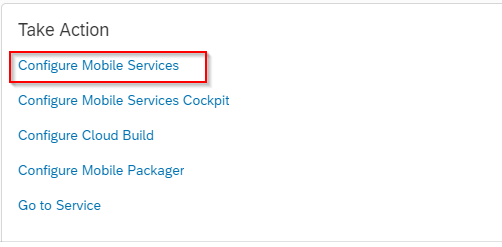
In the Service: Mobile Services, users – Overview screen, click
Configure Mobile Services in the Take Action section.
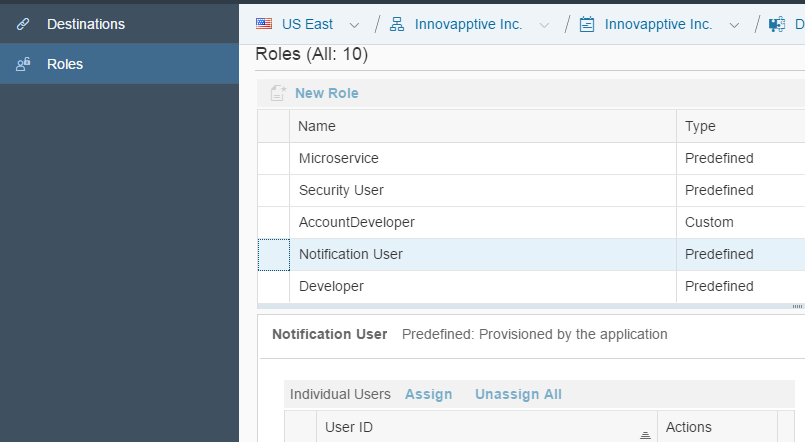
- Click Roles.
- In the Service Configuration: Configure Mobile Services – Roles screen, select Notification User in the New Role table.
-
Click Assign.
- In the Assign role “Notification User” to user popup, enter the S-User ID that has administrator access to SCP.
- Click Assign.