Configure SCP Applications for Push Notification
- Log in to SCP Account.
-
Navigate to your Sub Accounts.
Sub Accounts depends on whether they are created for your account. You can directly create a Tenant in your main account. For example, {your_company_name} can be main account and it could have multiple sub accounts and the sub accounts.
- Click your Tenant.
- Click Services.
- Select Mobile option from All Categories list.
- Select Mobile Services, users.
-
In the Service: Mobile Services, users – Overview screen, click Go to
Service in the Take Action section.
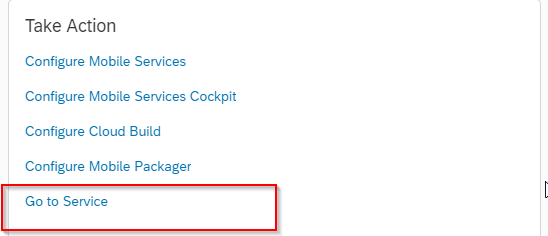 Note: Depending on your environment, you could be asked for authentication.
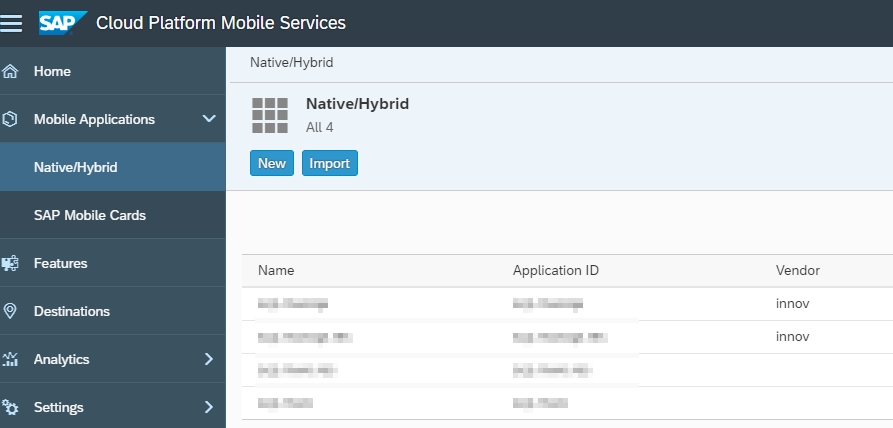
 - Expand MobileApplications and click Native/Hybrid button.
-
In the Native/Hybrid screen, click the Application ID for which you need
Push Notification.
-
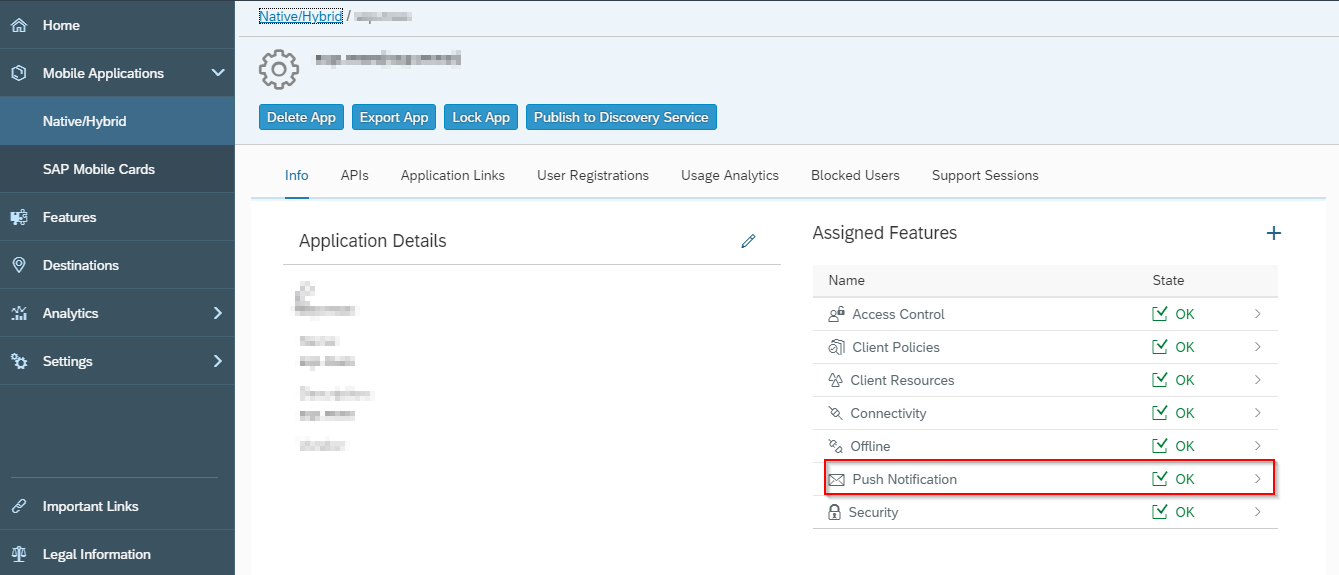
In the Application ID Details screen, click Push Notification.
-
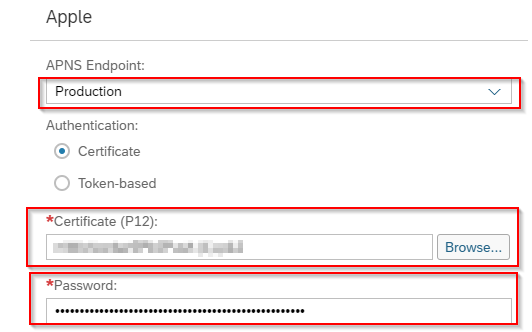
Click the Configuration tab and do the following:
- iOS Device: Scroll to option Apple and change the APNS
Endpoint from None to Sandbox/Production based on
the certificate type. Upload Certificate and save the settings.
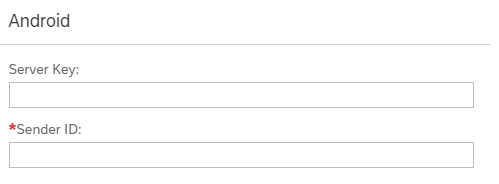
- Android Device: To configure Android, enter the Server Key
and Sender ID in the same screen.
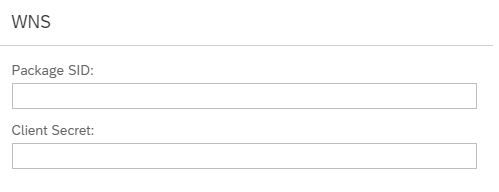
- Windows Device: To configure Windows, enter the Package
SID and Client Secret details in the same screen in WNS.
- iOS Device: Scroll to option Apple and change the APNS
Endpoint from None to Sandbox/Production based on
the certificate type. Upload Certificate and save the settings.
- Click Save.