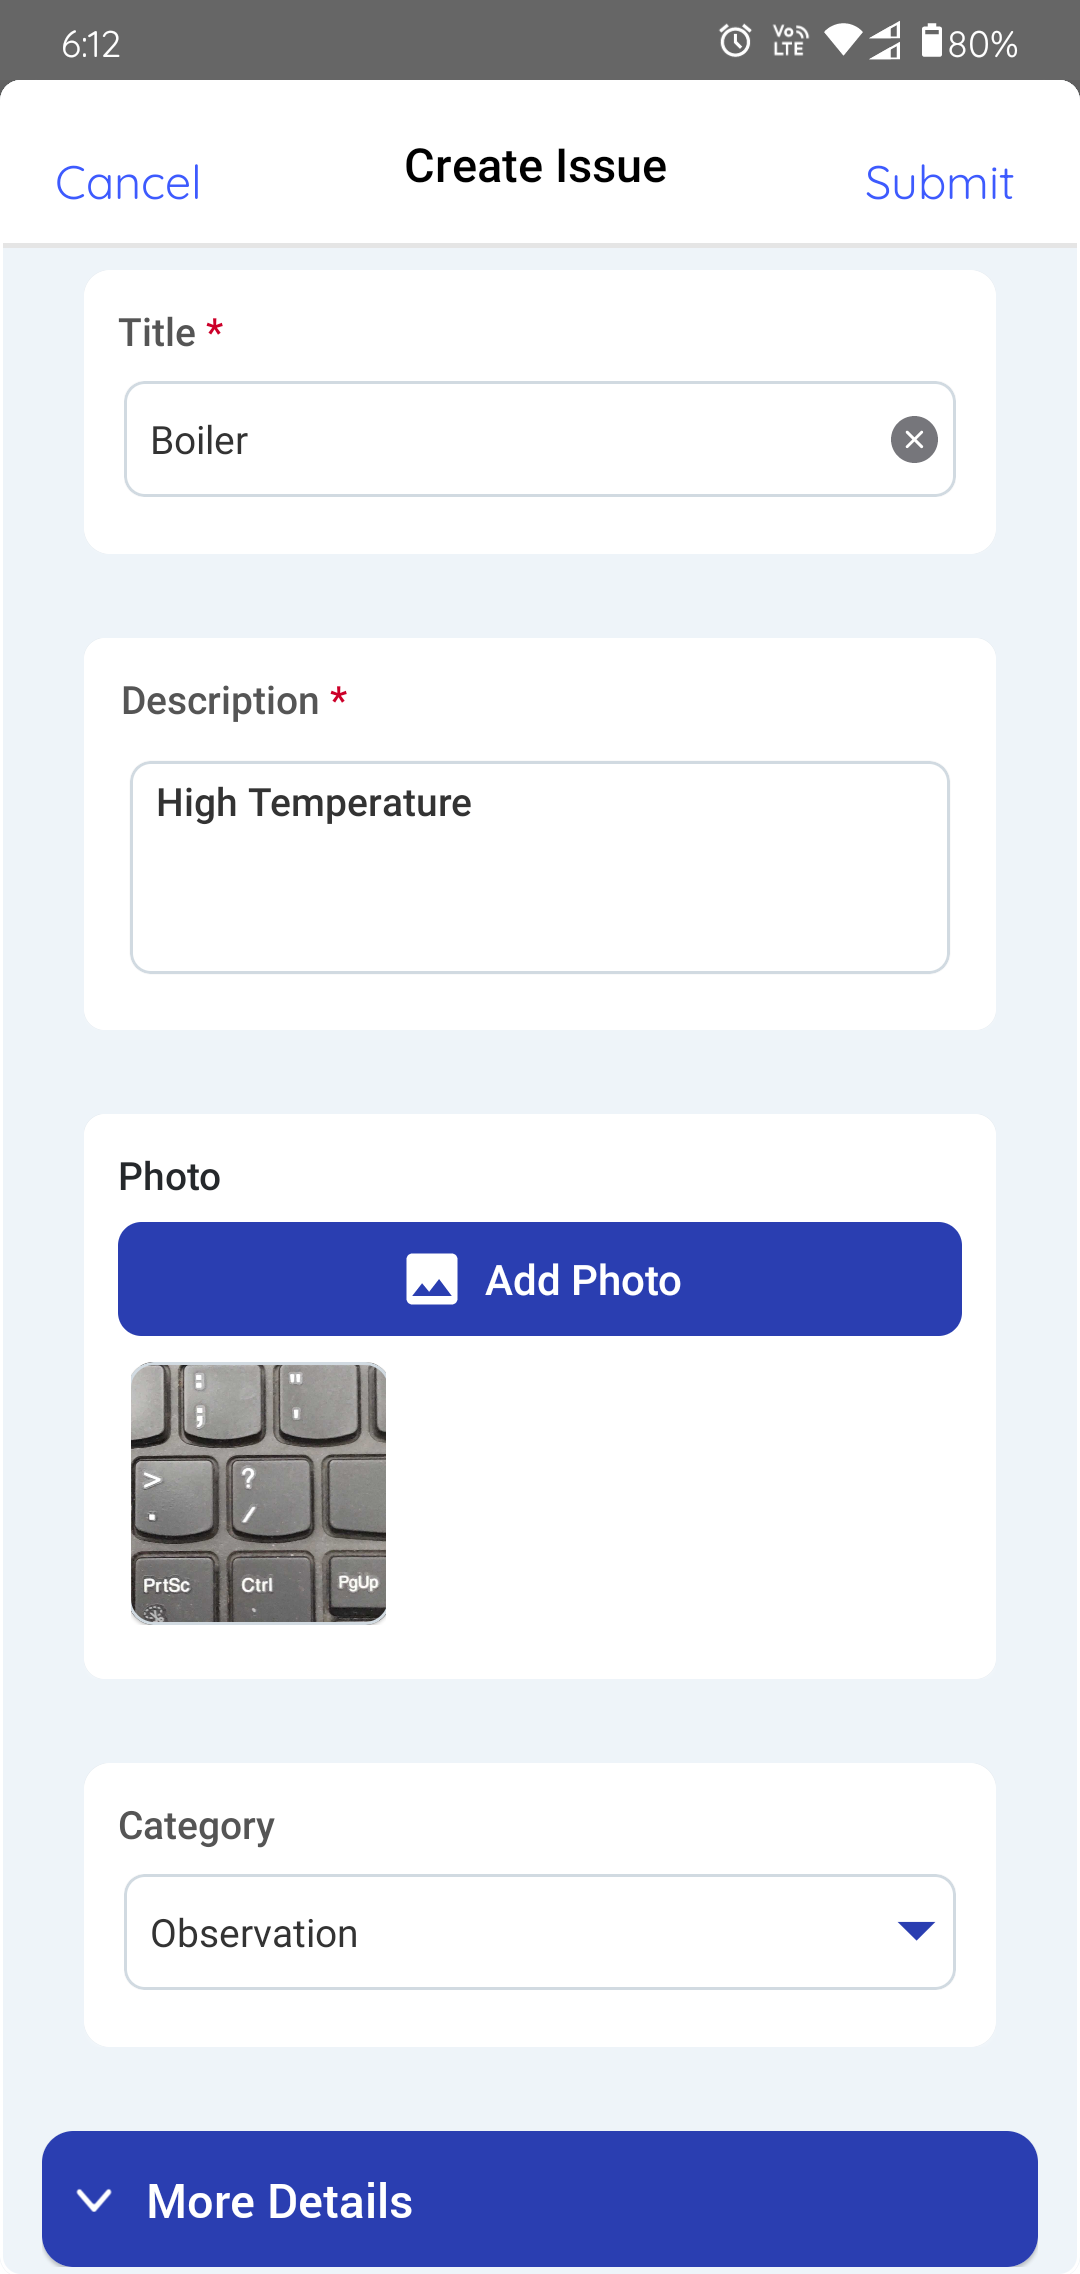
Enter the issue description in the Description field.
Tap the Add Photo button in the Photo field to add
images.
Select the Category such as Observation,
Maintenance, Incident, Near Miss, or
Hazard.Figure 1. Create Issue
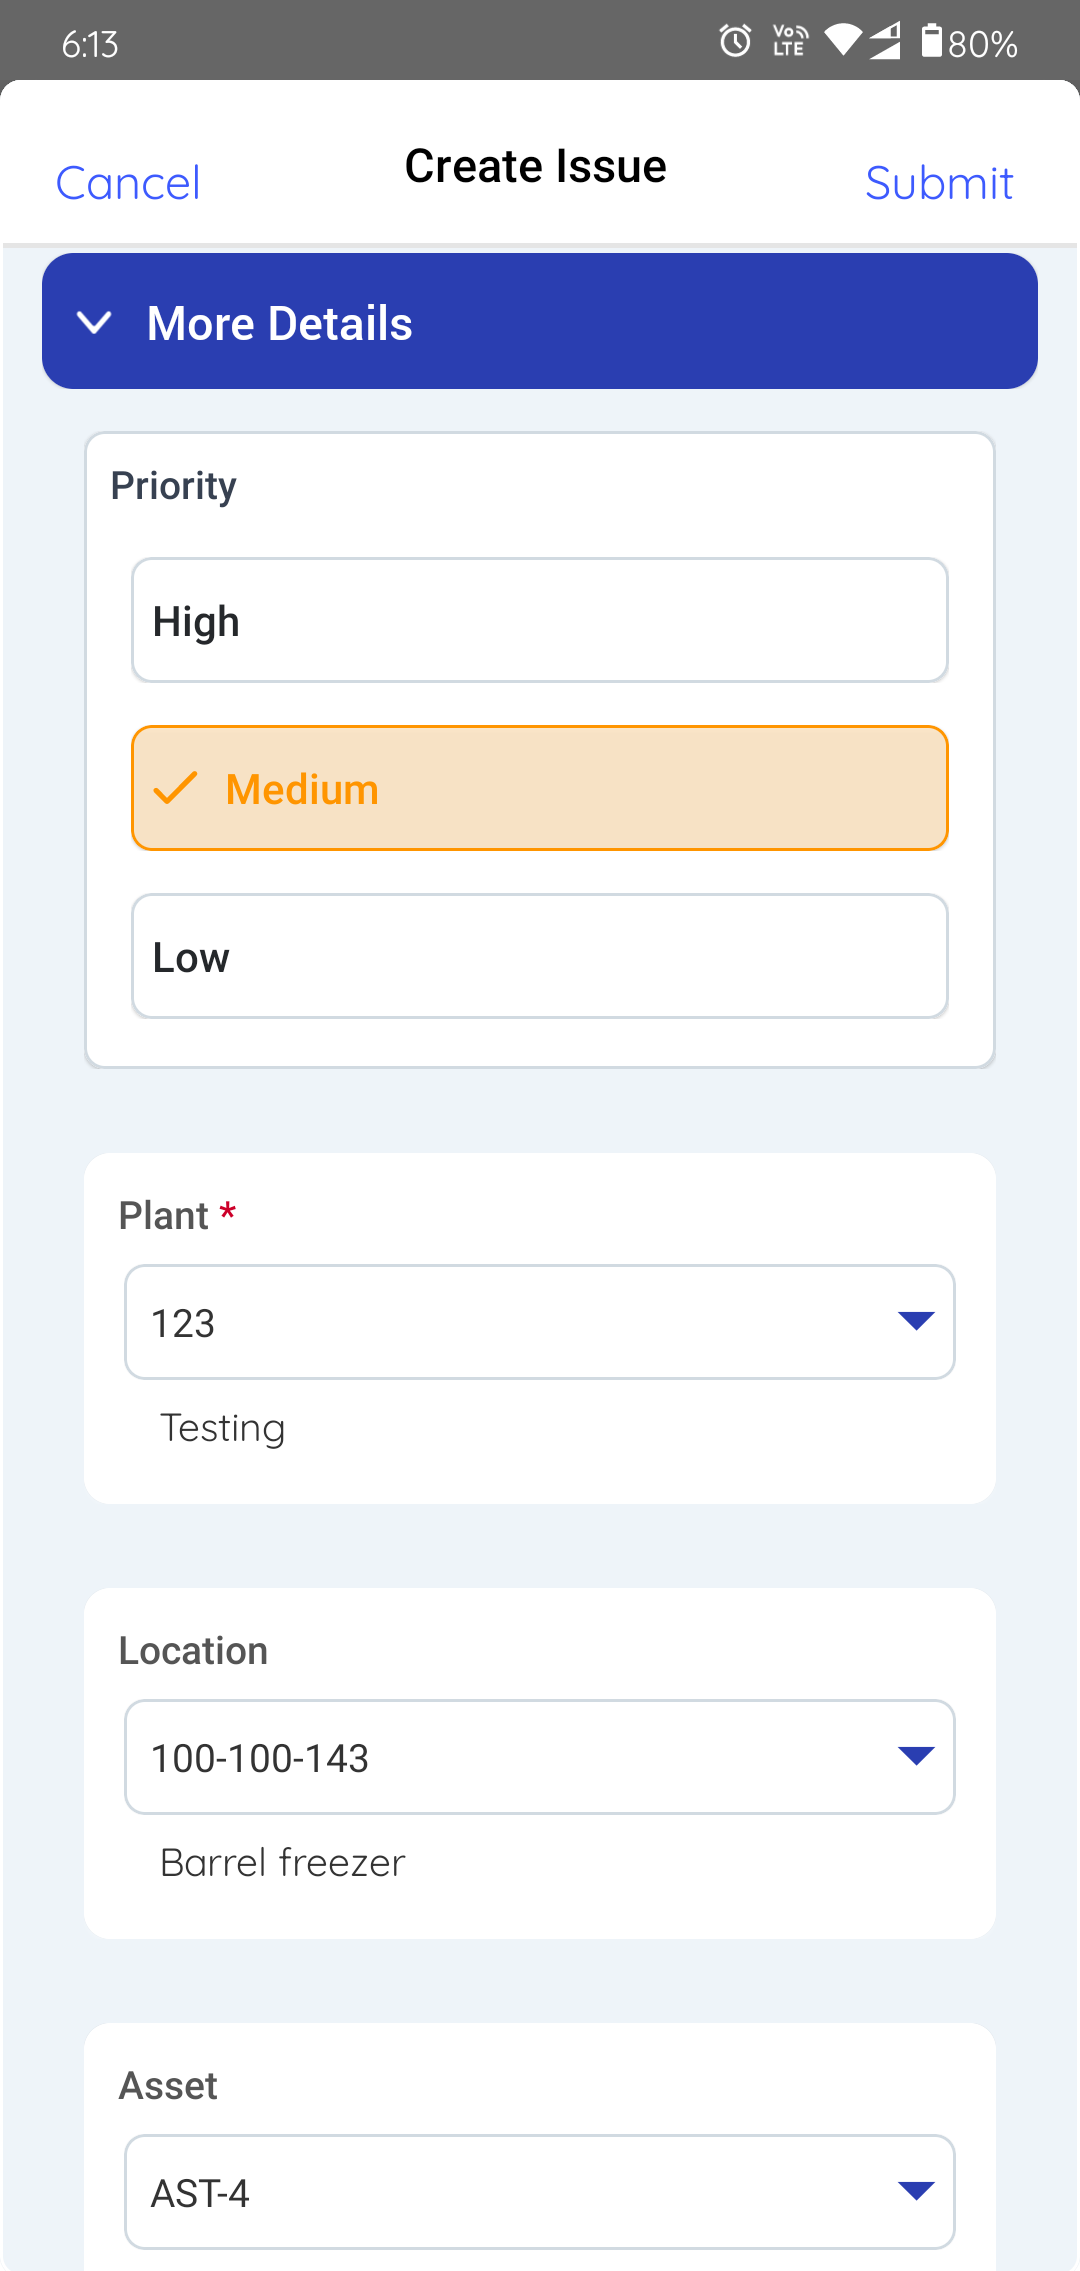
Expand the More Details section, do the following.
Select the Priority such as High, Medium,
or Low.
Select the relevant plant in the Plant drop-down.
Select the relevant location in the Location
drop-down.
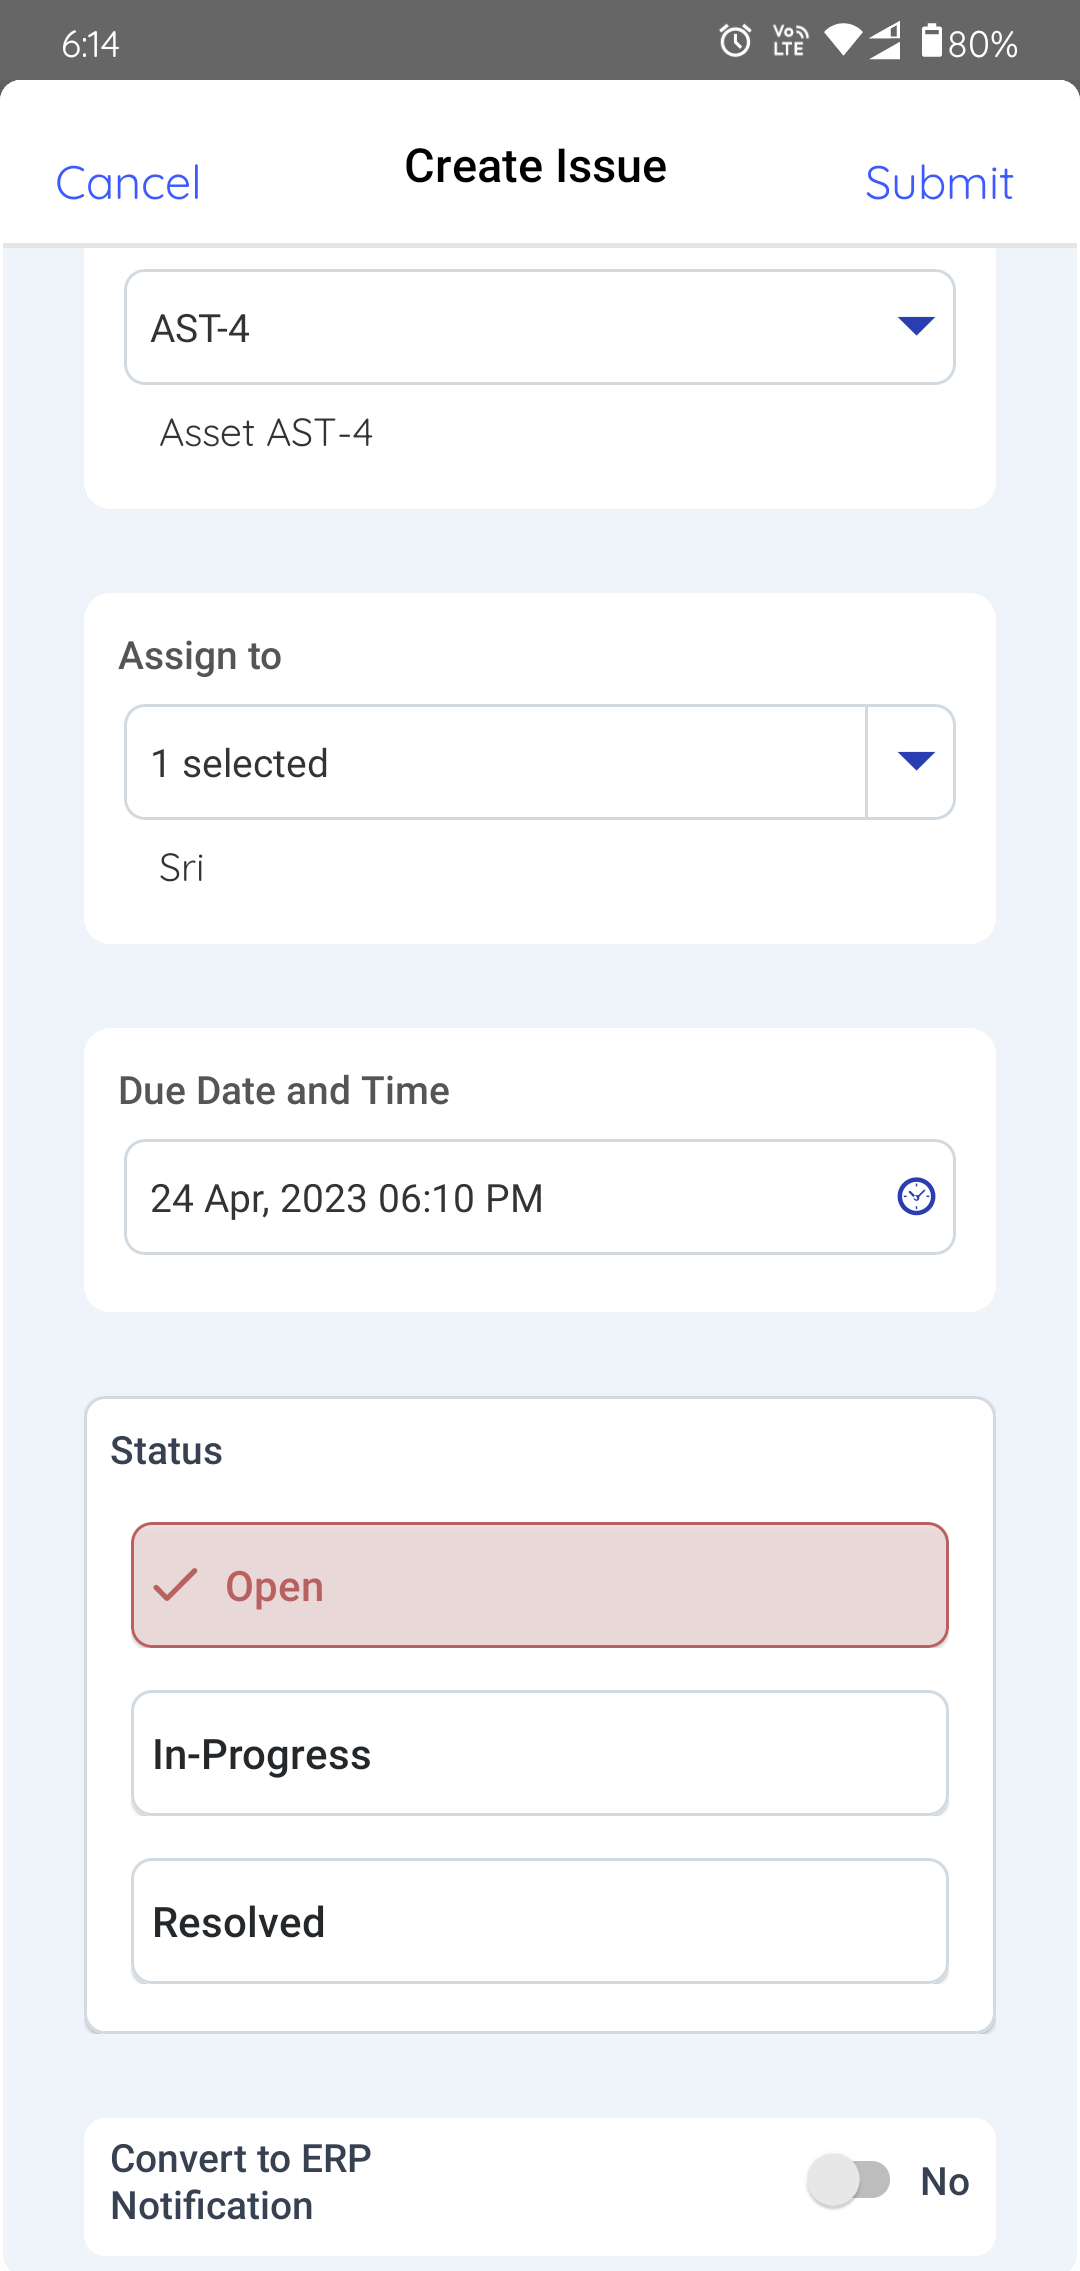
Select the relevant asset in the Asset drop-down.
Select an operator or technician in the Assign to
drop-down to assign the issue. Tap Save once you select
the users.
Select the Due Date and Time.
Select the Status such as Open,
In-Progress, or Resolved.
Select the Yes toggle button of the Convert to ERP
Notification field if you want to convert the issue to
notification.
Figure 2. Fill the details
Tap the Submit button on top right.
Figure 3. Submit Issue
Issue Created Successfully message appears and you can see the newly
created issue in the Open Issues tab. If the issue is assigned to you
then you can see it in the My Issues tab.
 icon on the bottom of the screen.