How to create Work Instructions
Create step-by-step work instructions for technicians with details like prerequisites, images, warnings, hints, plans, and so on. The technician can go through the instructions and execute tasks to complete the work order.
-
Click the Work Instructions Authoring module on the left side
pane.
In this screen, you can,
- Search the work instructions using the Search bar.
- Download the templates using the Download Template option, fill in the details, and export the excel file using the Import File option.
- Copy work instruction from the existing one using Copy Existing option to create a new work instruction.
- Access the drafted work instructions in the Drafts section to work on.
- Access the favorite work instructions in the Favorites section.
- Create a category using the Add Category button to categorize the work instructions.
-
In the Work Instructions Authoring screen, click the Create Work
Instruction button.
Figure 1. Add Header Details 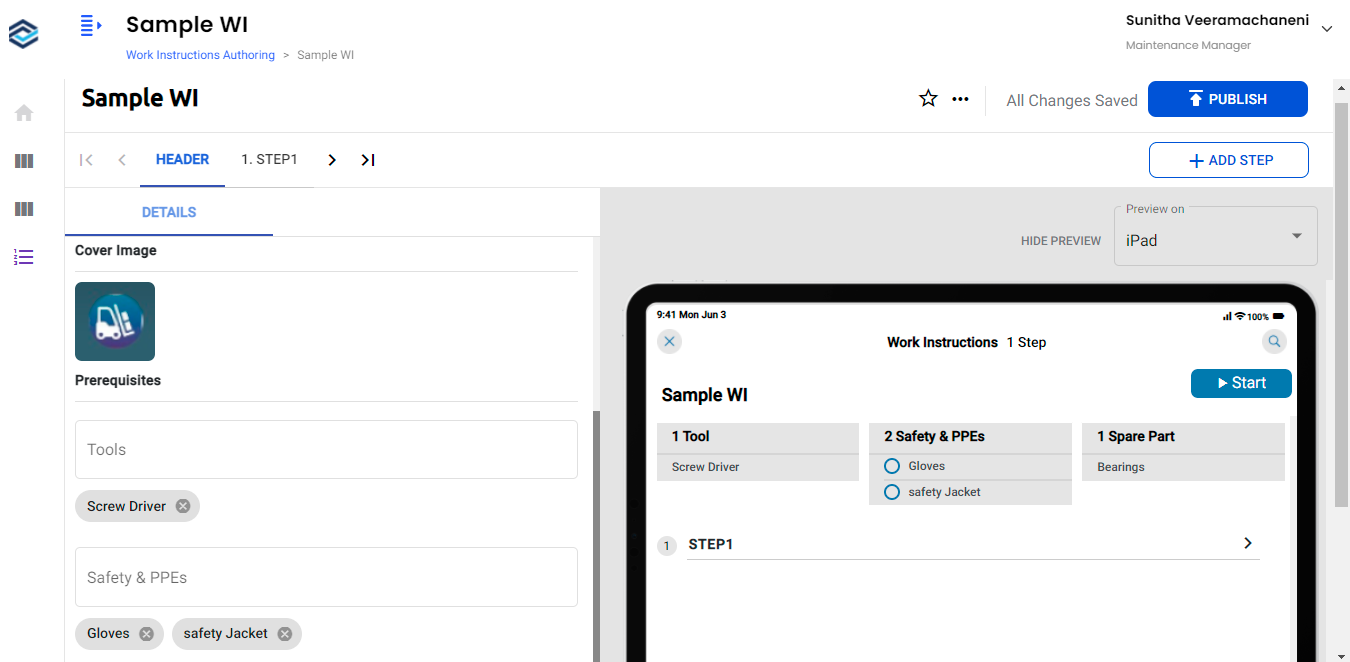 In this screen, you can do the following:
- Mark a work instruction as your favorite using the Favorite
 icon to identify and access the work instruction easily.
 - Copy the existing work instruction using the More
 icon > select Copy Work Instruction.
 - Delete the work instruction using the More
icon > select Delete Work Instruction.
- Select the preview option iPad or iPhone in the Preview on the drop down to display the instructions in the required preview. It helps you to decide the format (iPad or iPhone) before finalizing the work instructions.
- Click the Hide Preview icon to hide the preview.
Figure 2. iPad Preview 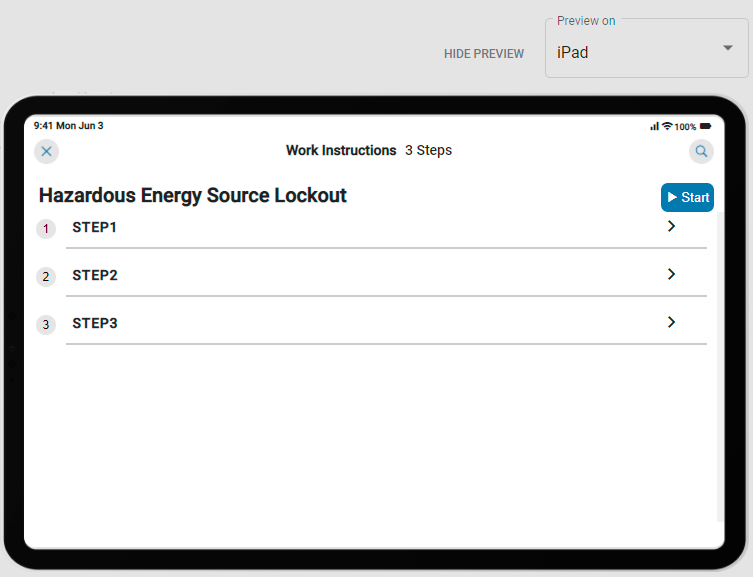
Figure 3. iPhone Preview 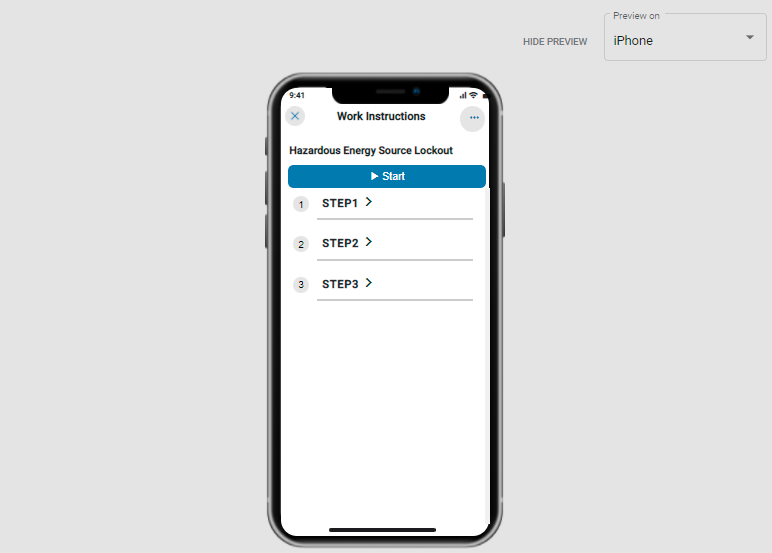
- Mark a work instruction as your favorite using the Favorite
-
Enter the title of the work order.
Note: When you enter the title, the work instruction is saved automatically.
-
In the Header tab, add the following header data,
- In the Assignments section, select Categories and
Assigned Objects from the drop downs.Note:
- If you do not assign any specific category, it adds under the Unassigned category.
- You can select only Order Number and Order Type in the Assigned Objects drop down.
- Click Cover Image to add a cover image.
- In the Prerequisites section, add Tools, Safety & PPEs, and Spare Parts to carry to perform a specific task/job.
- In the Assignments section, select Categories and
Assigned Objects from the drop downs.
-
Click Step 1 at the bottom to define the steps in detail.
Figure 4. Add Steps 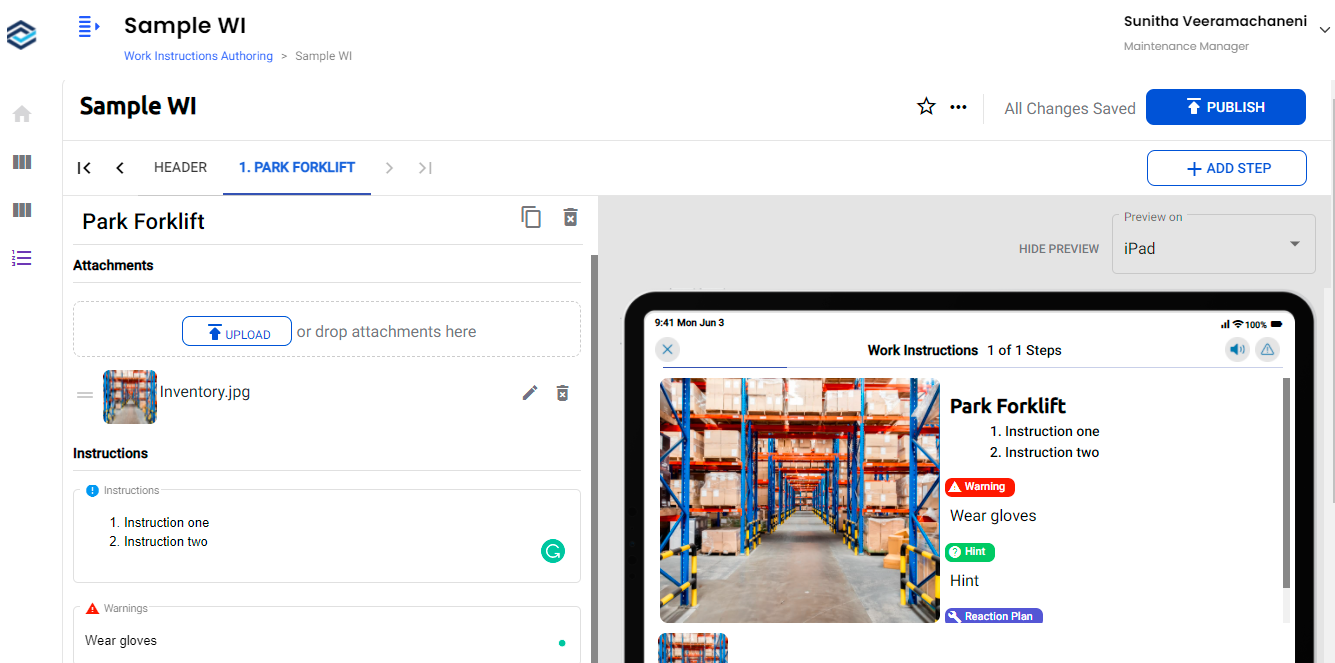 In this tab, you can,
- Clone or copy the step using the Clone Step
 icon.
icon. - Delete the step using the Delete Step
 icon.
icon.
- Clone or copy the step using the Clone Step
-
In the Step tab, add the following details:
- In the Attachments section, click the Upload button to add
images.You can drag and drop the images.
- In the Instructions section, add Instructions, Warnings, Hints, and Reaction Plan details.
- In the Attachments section, click the Upload button to add
images.
-
Add Step 2, Step 3, and so on as required.
You can also click the Add Step button to add steps.
-
Click the Publish button to publish the work instruction.
You can access the published files from the Published sub module. For more information, see How to access Published Work Instructions.