Execute Rounds with mRounds Mobile App
As an operator, your role is to execute rounds that have been pre-configured by supervisors. These rounds include various response types that you need to be familiar with to capture asset data accurately. Each response type serves a specific purpose, from scanning the asset to verifying your location with geo-location, to capturing photographic evidence of equipment conditions. Conditional logic ensures that if any data you enter falls outside acceptable limits, follow-up actions or alerts are automatically triggered.
Important: You receive push notifications on your mobile device one hour before the round that is assigned to you becomes overdue. This ensures that you do not miss important reminders. You can tap the notification to access and work on the round, issue, or action on priority.
For smooth and error-free execution of rounds using the mRounds app, follow the instructions listed in these sections.
Find the Ideal Route
Before starting the round, determine the ideal route for completing the tasks efficiently. This ensures that all tasks are completed in the most logical and time-saving manner.
- In the Rounds screen, tap the My Rounds tab.
- Select a round from the assigned rounds list.The Round Details screen is displayed. In this screen, you can view round details, relevant notes & attachments, and more.Note:
- If you want to skip the round, tap the More
 icon
on the top right and select Skip Round
and choose a reason such as Plant Shutdown, Insufficient
Resources/Spares, Locations/Assets Inaccessible, Environmental
Hindrance, Safety Concerns, or Others. This skipped round is
displayed in the My Rounds tab with the
Skipped status and then removed after 24 hours
(configurable)
icon
on the top right and select Skip Round
and choose a reason such as Plant Shutdown, Insufficient
Resources/Spares, Locations/Assets Inaccessible, Environmental
Hindrance, Safety Concerns, or Others. This skipped round is
displayed in the My Rounds tab with the
Skipped status and then removed after 24 hours
(configurable) - If you want to skip, tap the More and select Skip Asset/Location. The selected asset / location is skipped along with the associated tasks.
Figure 1. Start Round 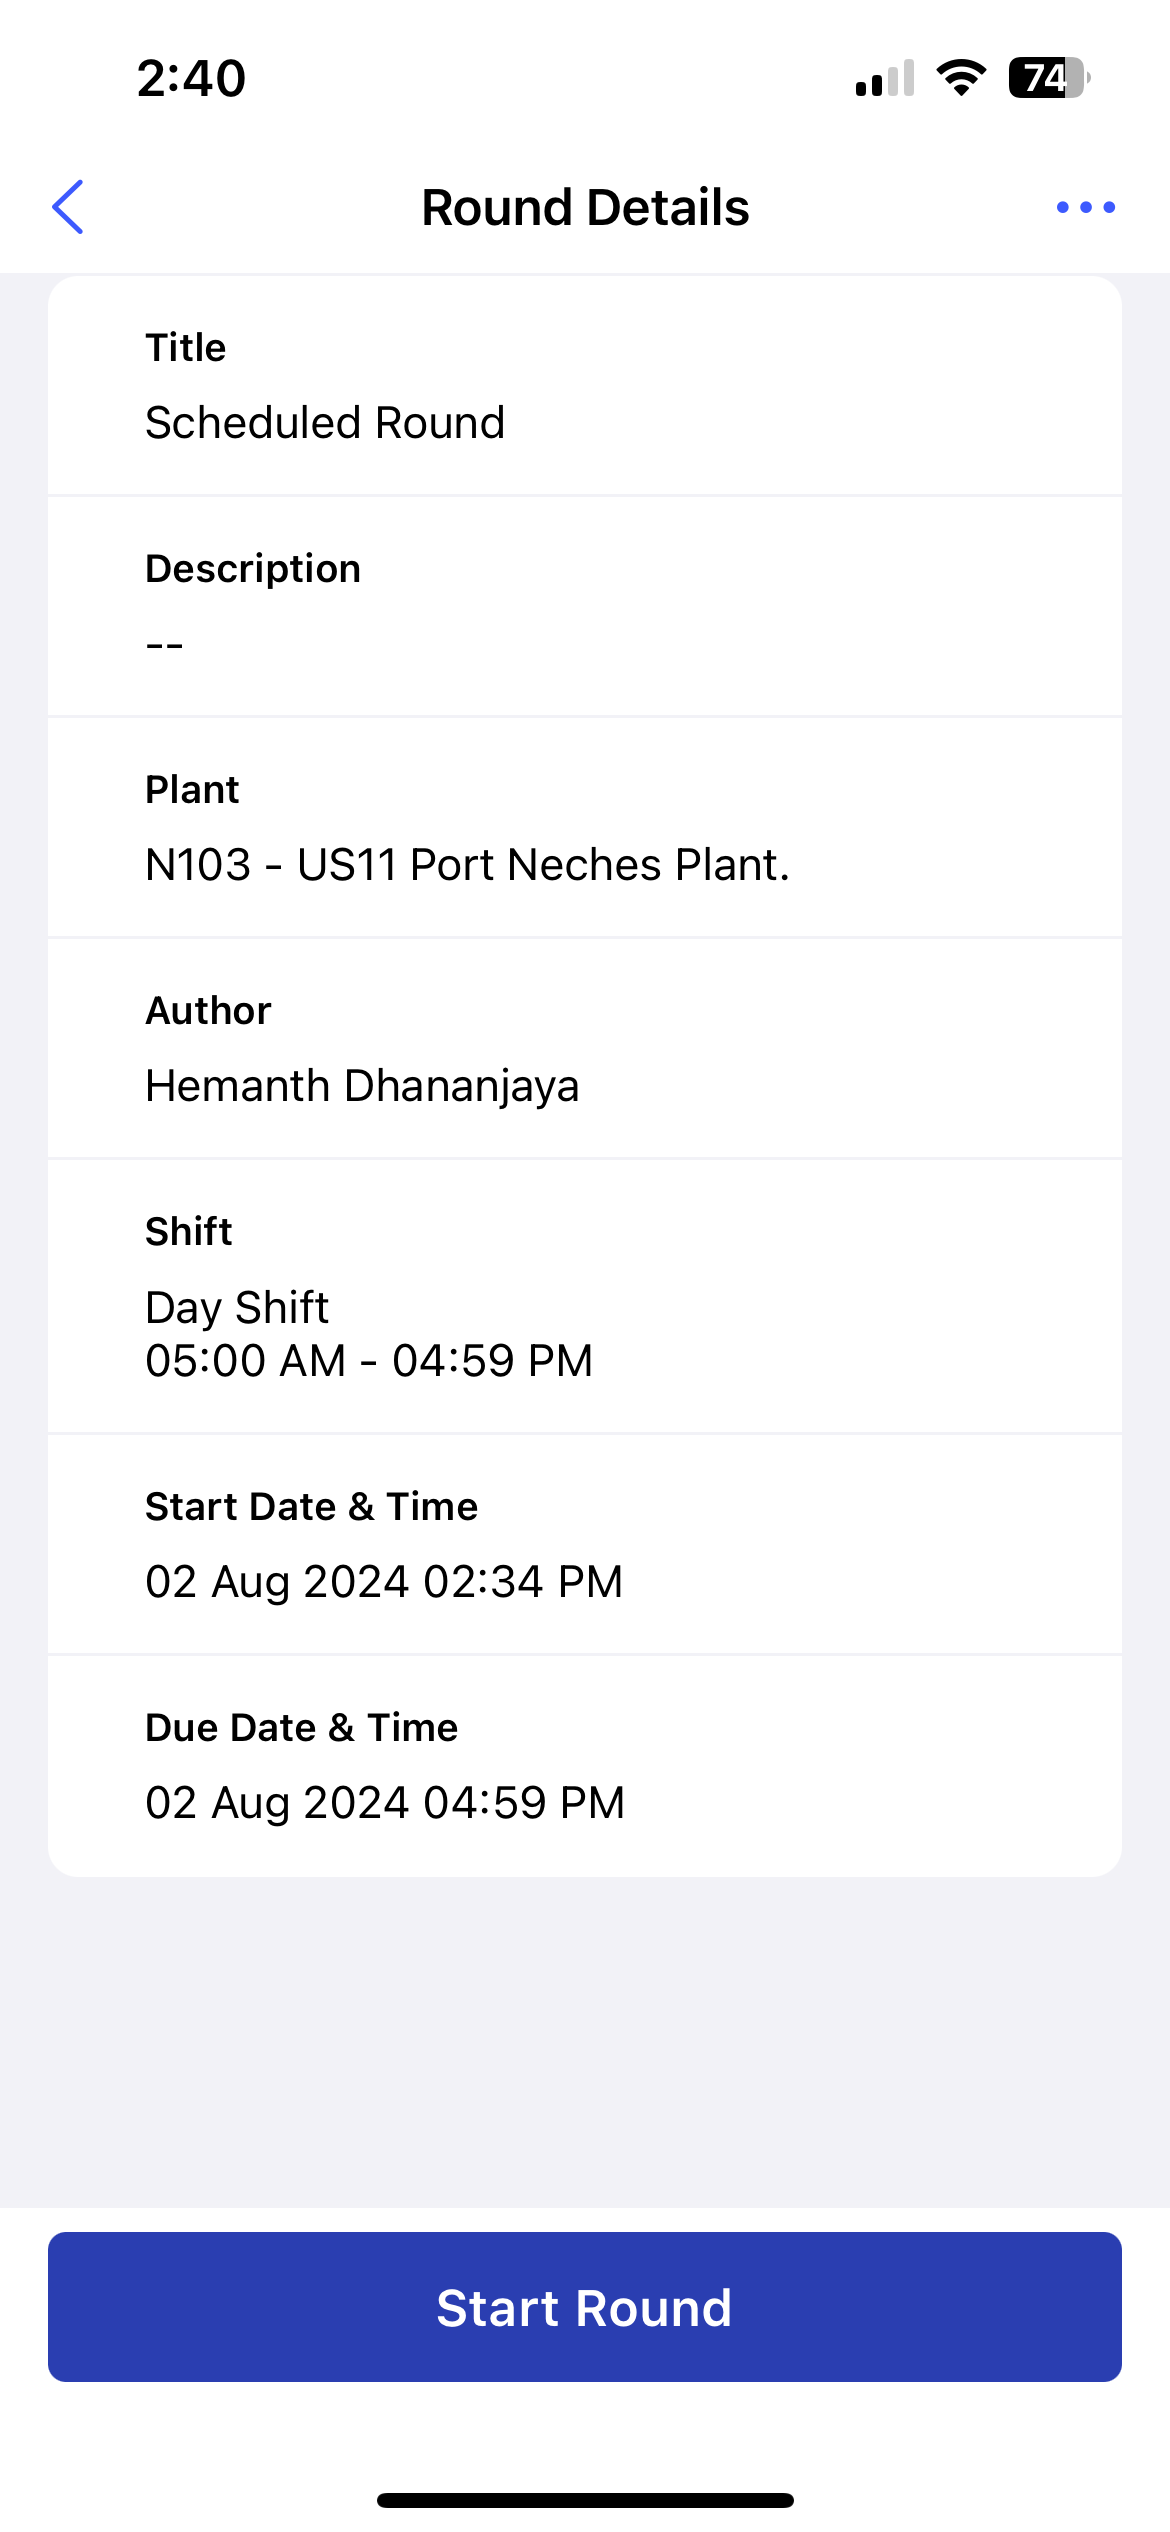
- If you want to skip the round, tap the More
- Tap Start Round.
The timer starts to record the duration of the round execution.
The Assets Route sceen is displayed where you can view the list of assets that require rounds tasks execution in that route.
- View the ideal route map that you must follow to execute the tasks quickly in
the Assets Route screen.
Figure 2. Assets Route 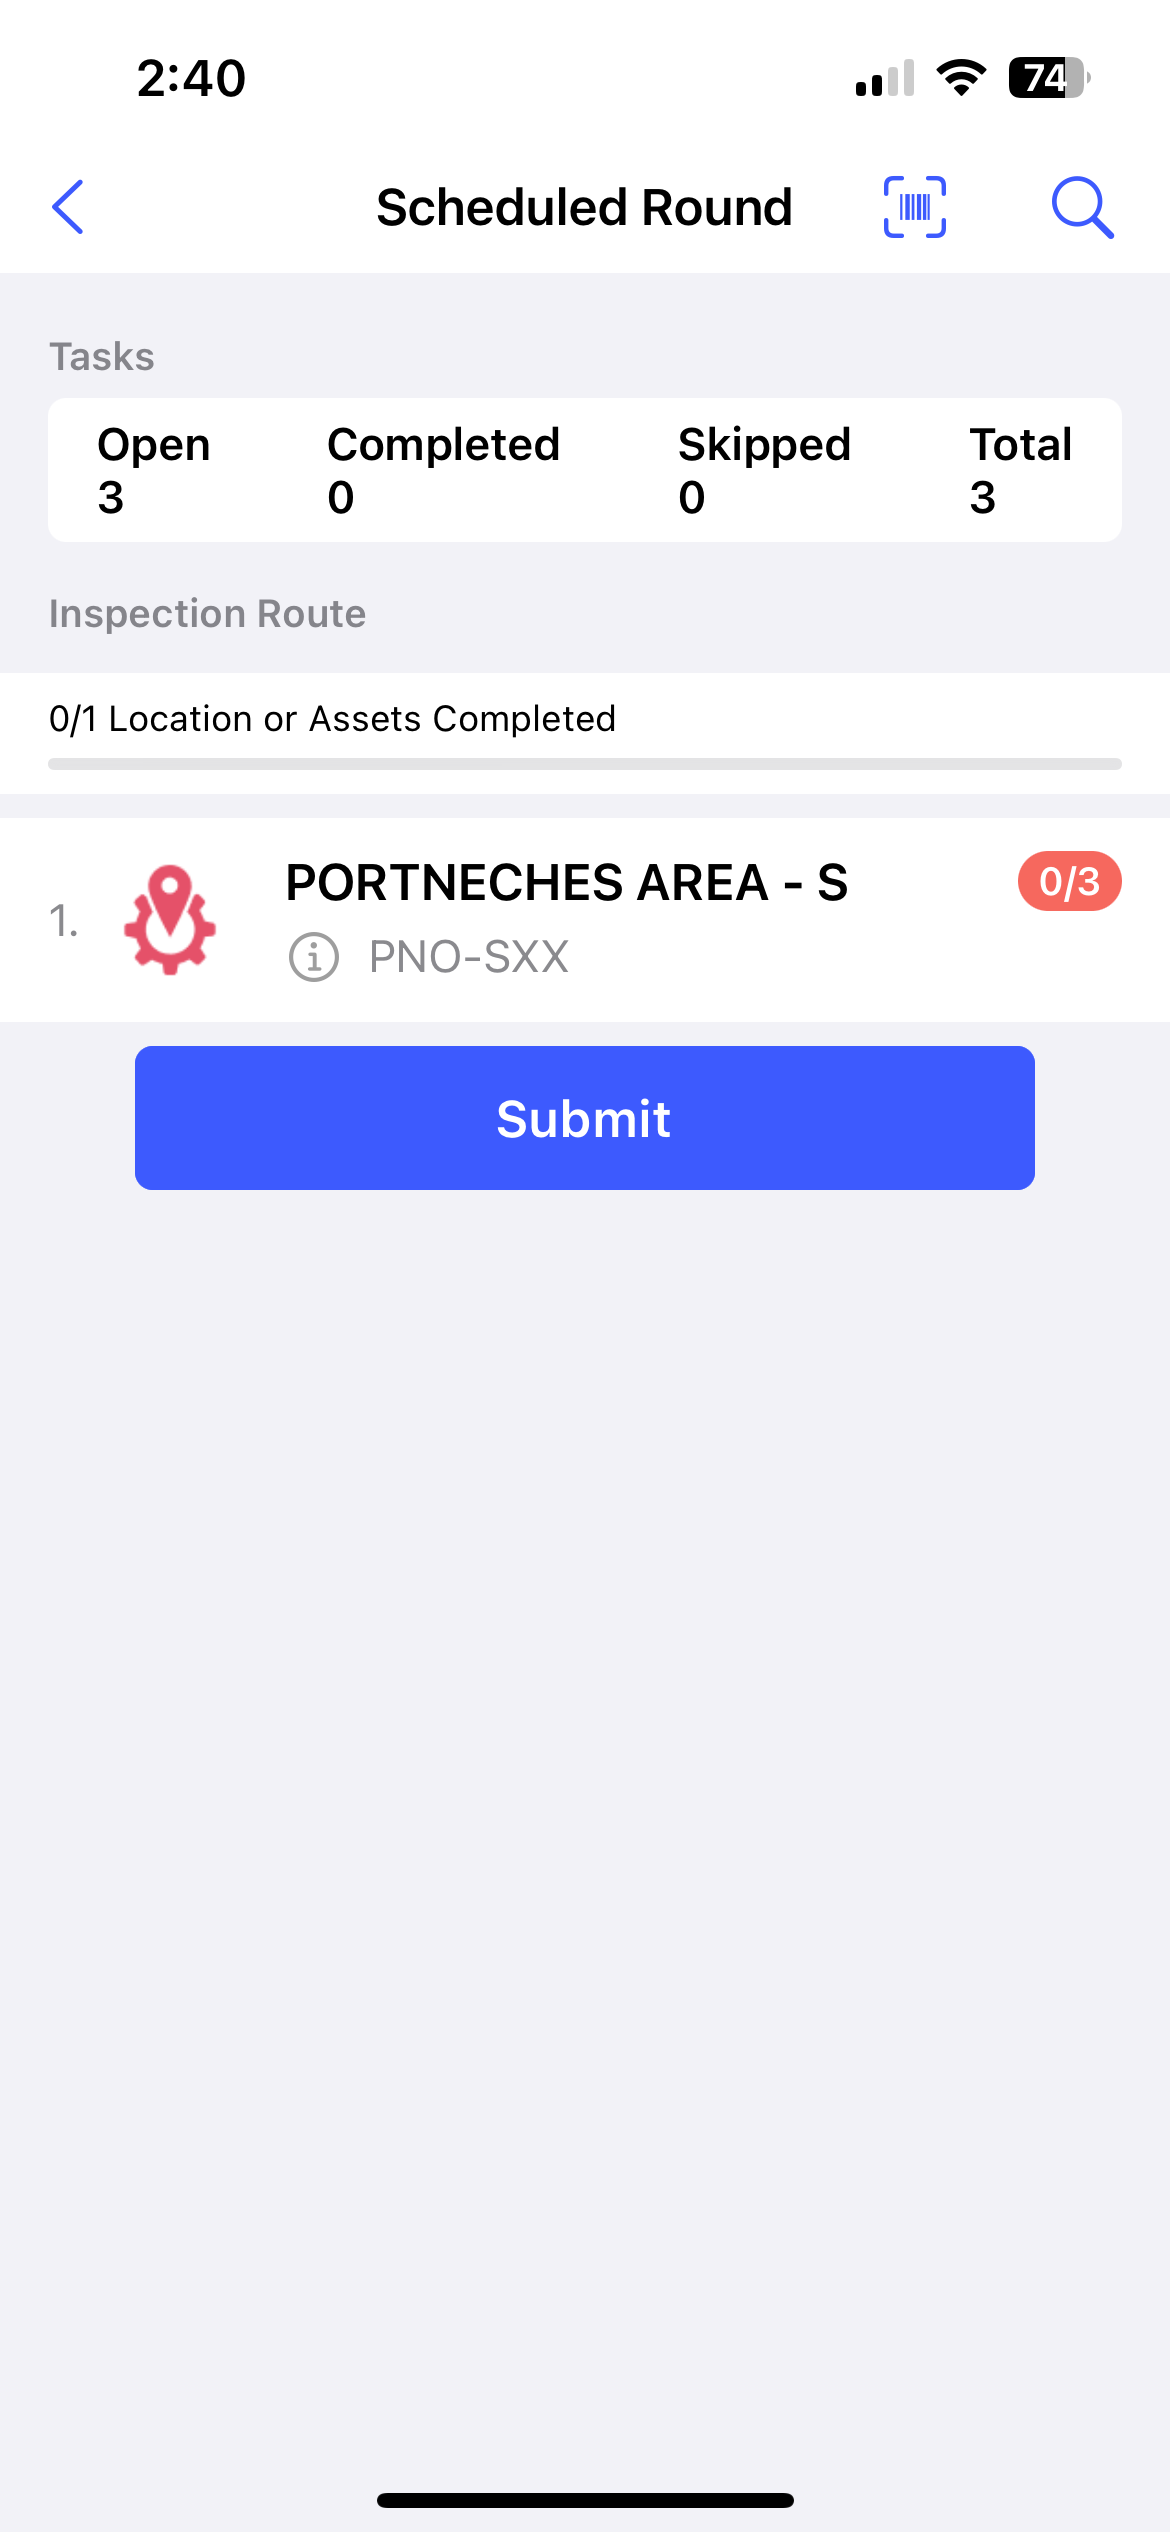
In this screen, you can,- View the progress of the round execution by checking the progress bar at the top. You can view Open, Completed, Skipped and Total number of tasks associated with the round under Tasks Summary.
- View and access the assets list under the Inspection
Route section with the count of completed locations
or assets.Note:Tap the Info
 icon, to see the Asset details
hierarchy
icon, to see the Asset details
hierarchy
Scan and Verify Assets
- Out of service
- Damaged barcode
- Inaccessible location
- Turnaround period
- Other (specify reason)
- Tap Scan Asset in the mRounds mobile app.
- Use your device to scan the asset’s barcode or QR code.
The round tasks assigned to the asset are displayed.
Figure 3. Asset Details with Tasks 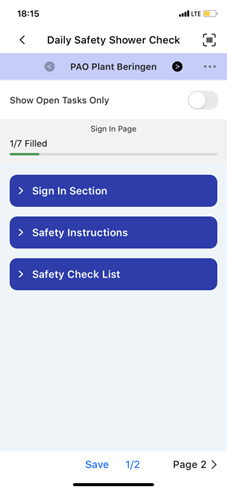
- Move the Show Open Tasks Only slider. The screen displays only open tasks and you can quickly start working on them.
- Tap Page 1, Page 2, Page 3, and so on buttons to navigate through the pages.
- The Tasks Summary section displays the count of skipped tasks within each asset, and the progress bar excludes skipped tasks from the completed count.
- The skipped assets / locations and tasks appear in the PDF report.
- To unskip a task, unskip the entire asset/location and then tap Unskip next to the skipped task.
Execute Rounds
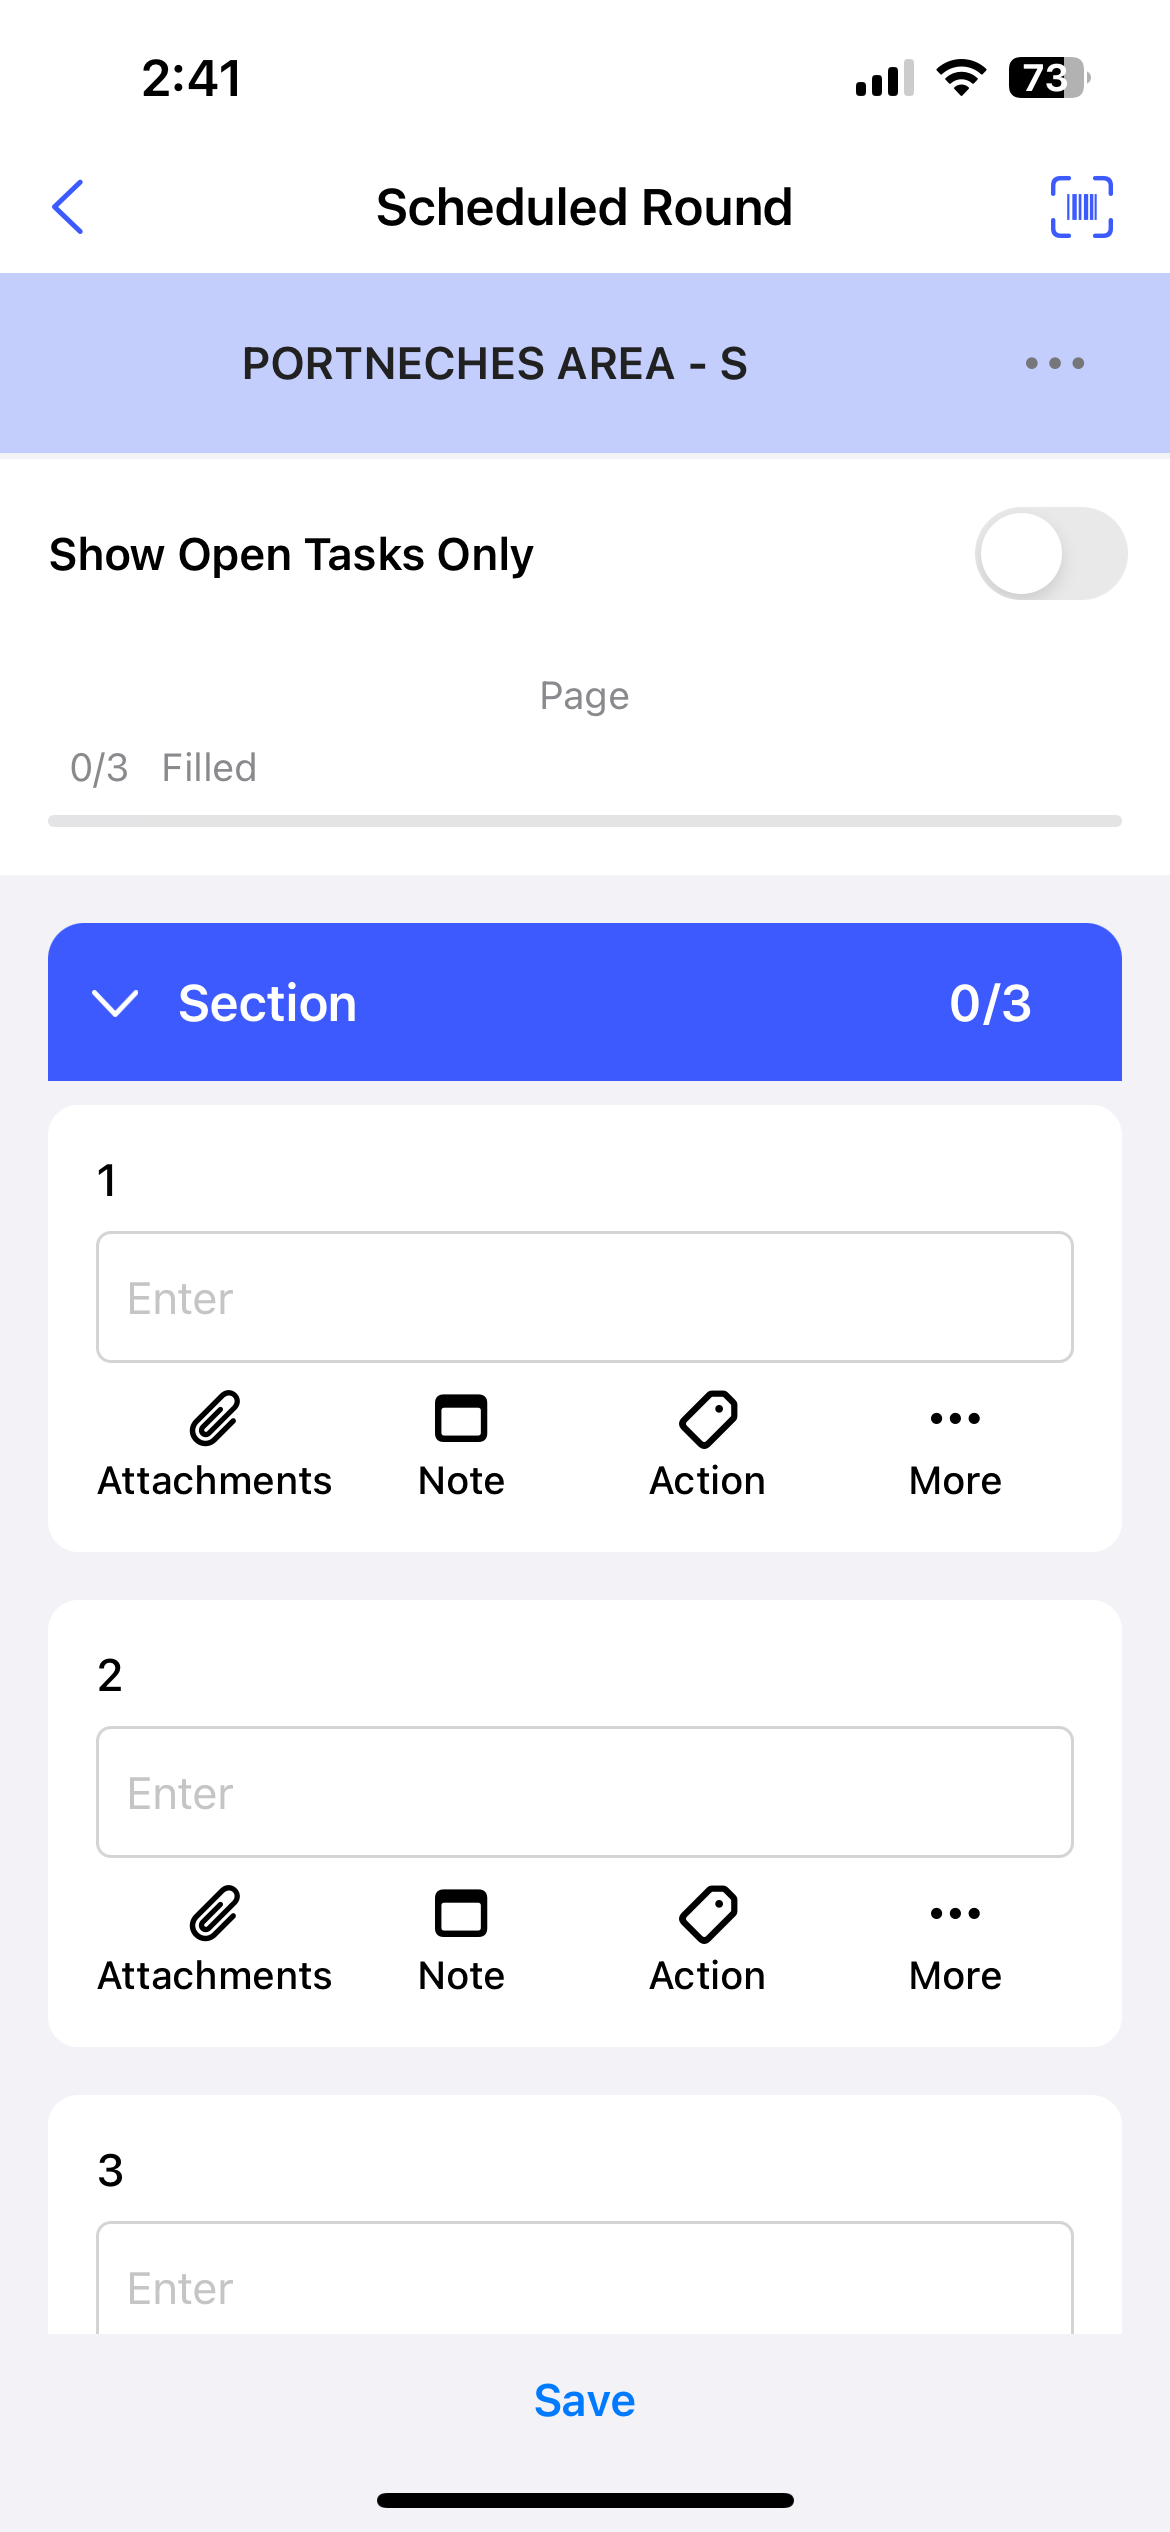
- Fill in the details in the task using the choices available for the tasks.The choices are
- Read Only Field
- Text Answer
- Number
- Check box
- Scan
- Date and Time
- SliderNote:The previous readings are presented as a line chart for Number and Slider response types, highlighting past readings or transactions. The charts display task names, dates, readings, and operators for each entry, providing detailed insight into the data history. You can quickly compare current readings with previous ones, and make informed decisions on the spot. To view the previous data, tap on Exceptions below the Number or Slider response type.
- Geo Location (To capture an asset location)
- Date Range
- Photo
- Signature
- Hyperlink
- Instructions
- Multiple Choice
- Global Picklist
Note:You can enter decimal and negative values when filling tasks that have a number response type.The auto-scroll option allows you to automatically scroll to the next unanswered question when a response is provided for specific input types.
Figure 5. Fill Responses and Execute Tasks 
Productivity Hack:- You can tap the Actions
 icon to create an action
for the asset while executing a round. For more information, see
Create Actions for Unresolved Issues or Tasks.
icon to create an action
for the asset while executing a round. For more information, see
Create Actions for Unresolved Issues or Tasks. - Tap the More
 icon > Create
Issue to create an issue for the asset. For more
information, see Create an Issue.
icon > Create
Issue to create an issue for the asset. For more
information, see Create an Issue. - Tap the More
icon > Show
Additional Details to view additional details or
more information regarding the task.
- Tap Page 1, Page 2, or
Page 3... to navigate.Tap Save to pause. This saved round appears in the My Rounds tab under the In Progress section.
Figure 6. Save Round 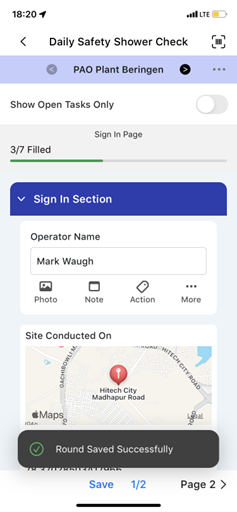
- Tap the Submit button, after filling in all the
details.Note:If there are pending or open tasks, data in the fields not filled in, or if the round is partially completed, the app will not let you submit. Tap Review to review complete the pending tasks or tap Save to pause and complete it later.
Figure 7. Submit Round 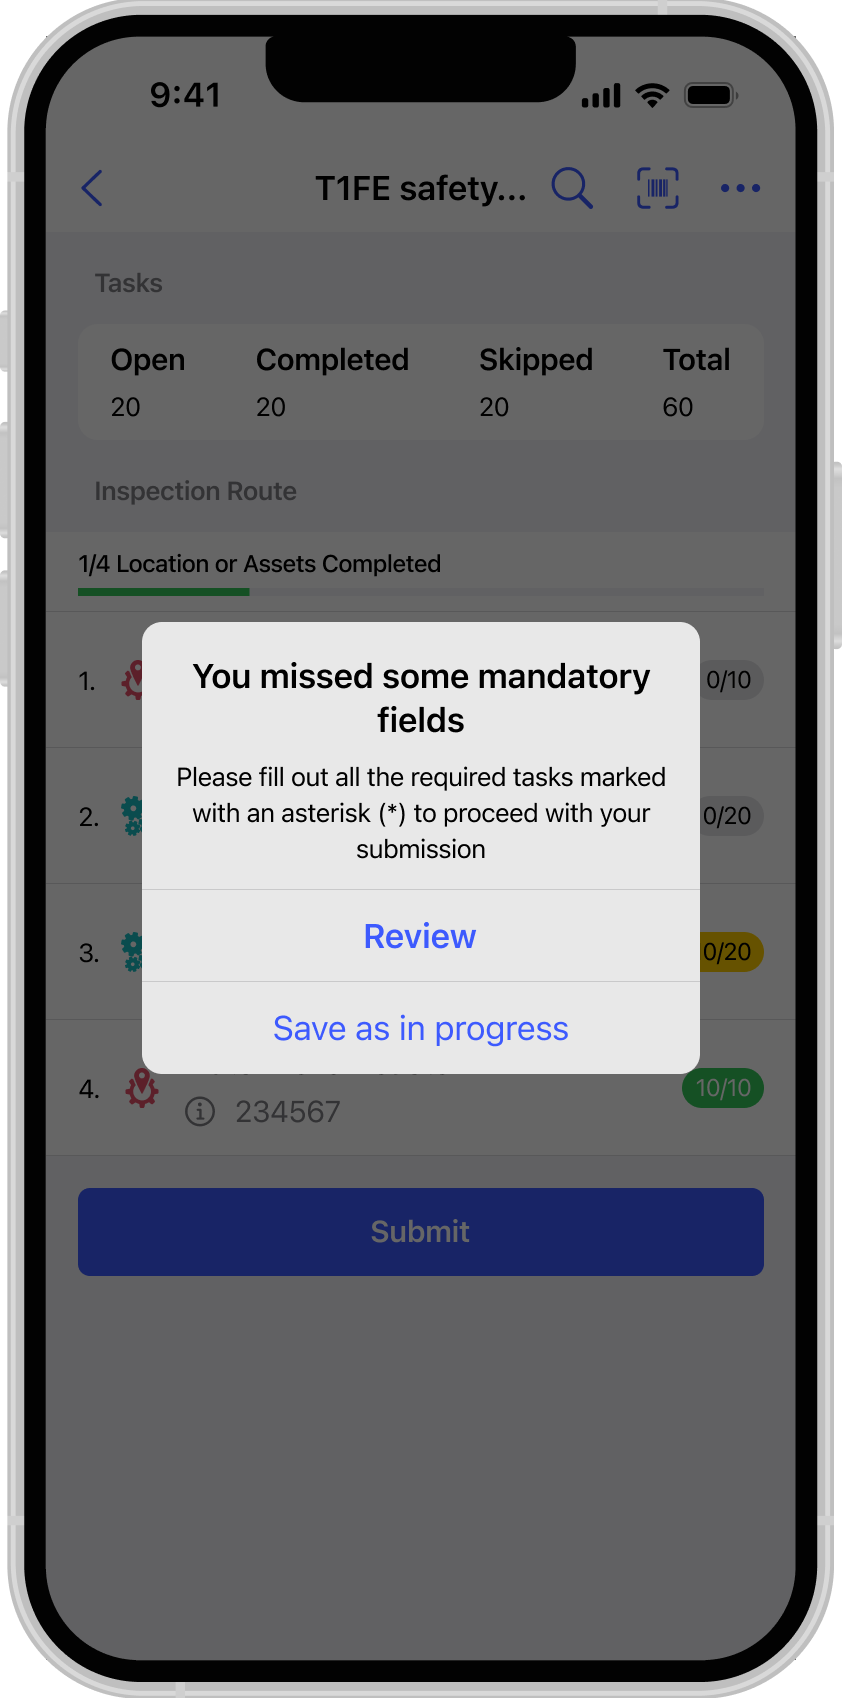
- If all mandatory details are filled, a Submission Confirmation pop-up appears.
- Tap Submit.
Figure 8. Submit Round Success Message 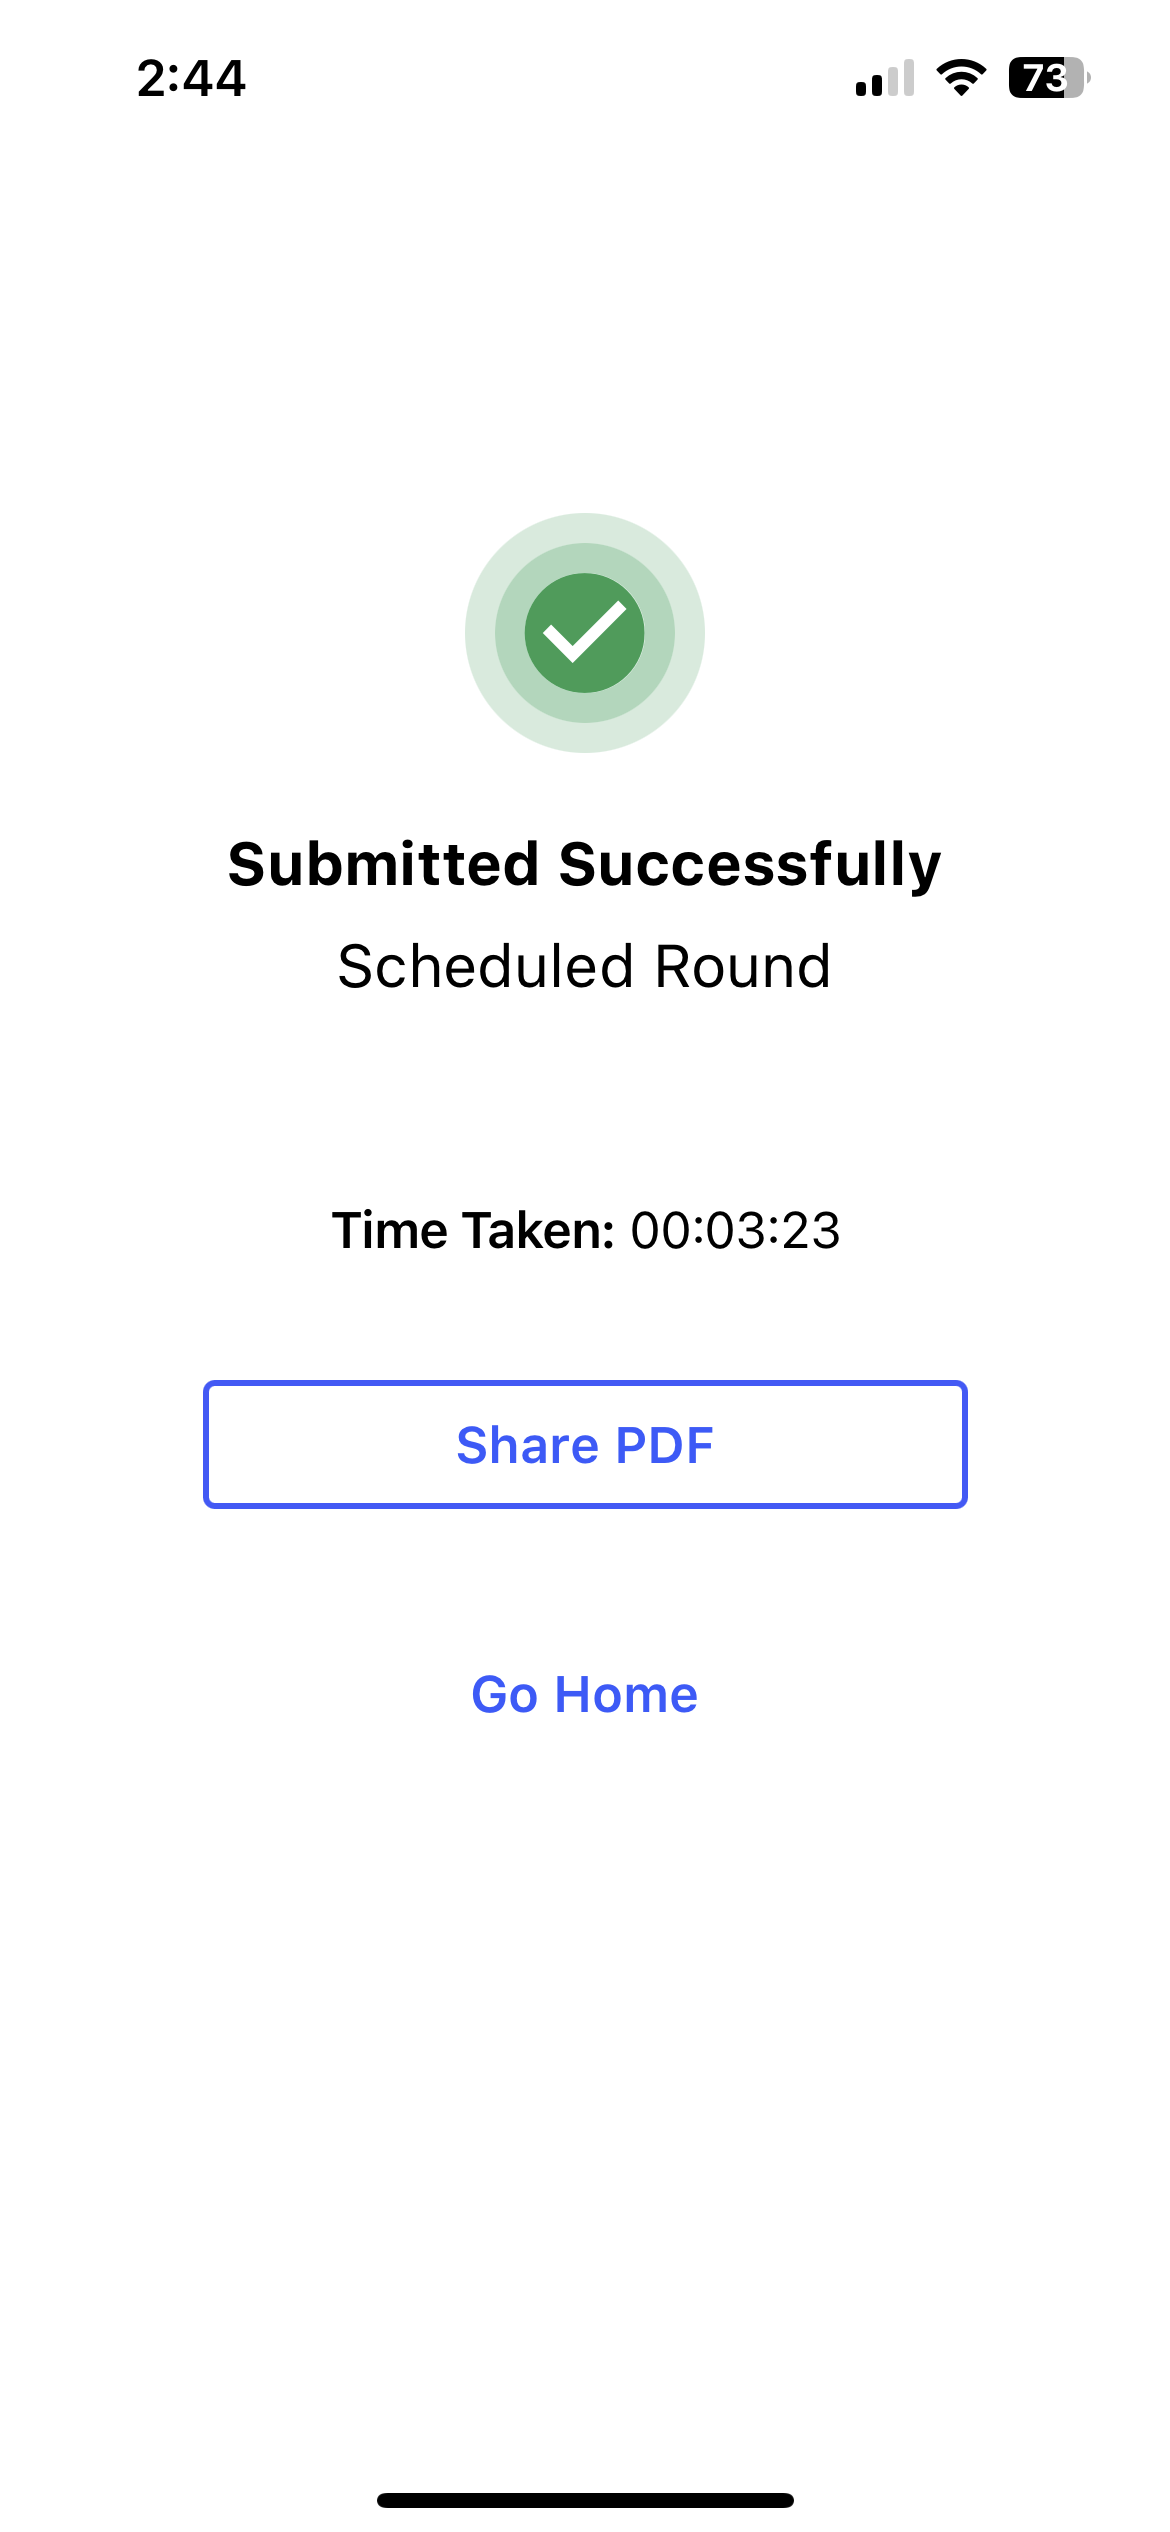
A message "Round Submitted Successfully" appears with the Share PDF and Go Home buttons.
The timer stops once the round is submitted and you can view the duration of the round execution.