Record Movement of Goods into Warehouse using Purchase Order
When you receive goods from an external vendor into warehouse, you update the purchase order and post the Goods Receipt.
To record movement of goods into warehouse using a purchase order:
-
On the search screen, do a combo scan or manually enter the details like
Purchasing Document Number, Plant number and Material
Number.
Note: Tap the Scan (OCR)
 button next to the field to scan the barcode
data. OCR field type is RACE configurable.
button next to the field to scan the barcode
data. OCR field type is RACE configurable.Figure 1. Goods Receiving using Purchase Order Search 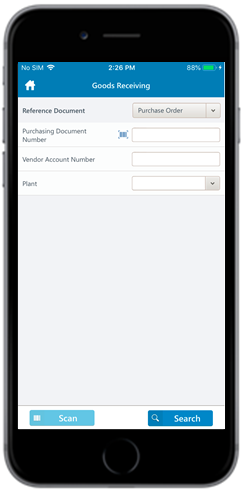
-
Tap Search.
On the search results screen, you can:
- Tap the Search button to search the purchase order.
- Tap the Scan button to scan a batch of line items .
- Sort and filter the records. For more information, see Filter records and Sort records.
Figure 2. Goods Receiving Purchase Order List 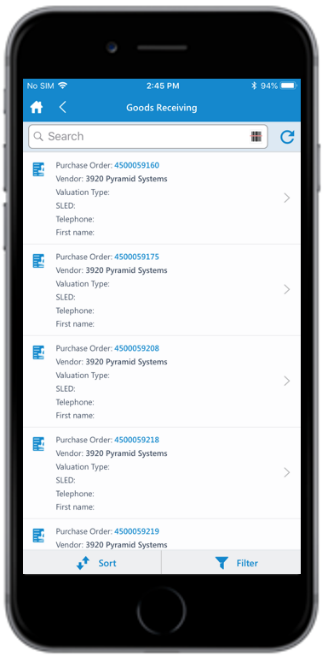
-
Tap the Calendar
 icon to modify the date of posting.
On the purchase order details screen, following fields are auto-populated:
icon to modify the date of posting.
On the purchase order details screen, following fields are auto-populated:- PO Number
- Vendor
- Net Order Value
Figure 3. Goods Receiving Purchase Order Details 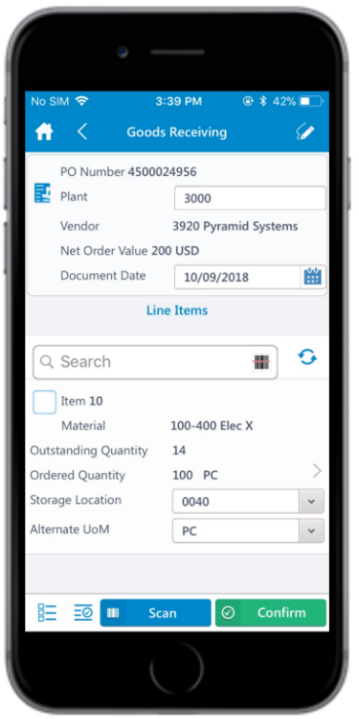
-
Select and enter this information for the lines item(s):
- Confirm Quantity: This value is auto-populated. Tap to modify the value.
- Storage Location: Tap to select the storage location from the list.
- Alternate UOM: Tap to select the Alternate Unit of Measure.
Note: Tap the Sub Items icon for the line
item to view and select the sub-components.
icon for the line
item to view and select the sub-components. -
Tap OK.
A message appears confirming that the Material Document <number> is posted for Purchase Order <number>.
Figure 4. Goods Receipt using Purchase Order Posting 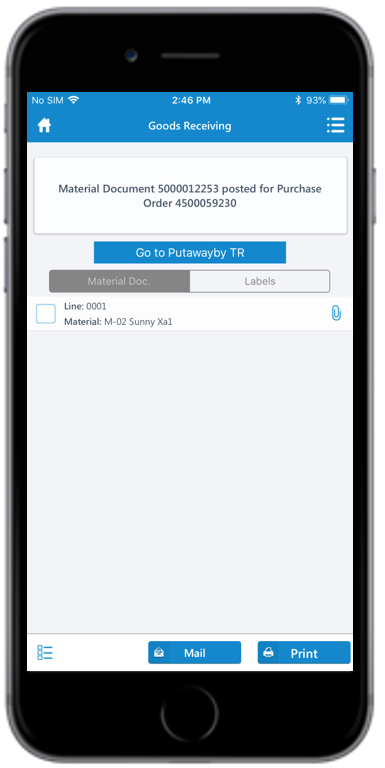 Note: From this screen, you can:
- Access the TR documents using the Go to Putaway by TR button. For more information, see Putaway using Transfer Requirements.
- Print the material document and labels. For more information, see Print material documents and labels.
- Send the material documents through email. For more information, see Email material documents.