Capture Asset Data using Forms
During the execution of a Work Order, you may need to record additional details related to maintenance tasks using Forms. This could include readings, inspection results, equipment status updates, or notes on repairs performed. Capturing precise data ensures accurate documentation and helps in future troubleshooting.
To capture asset data in Forms:
- Navigate to the Work Orders screen.
- Open the assigned work order.
- Tap the Forms tab.
-
The list of forms is displayed along with the form description and
number.
The form fields (such as Equipment, Functional Location, Plant, User Name, and so on) are automatically populated from the work order header details.
-
Select the form from the list.
In the Form Details screen, you can,
- View the form number with description.
- Select the drop-down next to the form number to switch between forms.
- Tap the More icon and select Issue History to view previously reported problems.
-
Fill in the form details, such as Site Conducted,
Conducted On, Start Date &
Time, End Date & Time,
Performed By, and other required fields.
Note:You can add attachments directly within the forms, and these are automatically included in the generated PDF upon form submission. The attachments are linked to the forms themselves and are not stored under the Work Order GOS/DMS.As you complete the form:
- Conditional logic may show or hide sections/questions, request evidence, or raise issues based on your selections.
- Instructional media (images, videos, documents) appears inline where relevant to guide you through specific steps.
- Numeric fields display default values and units of measurement (UoM) when applicable.
- Formula fields (addition, subtraction, multiplication, division, etc.) calculate automatically. For example, if Field A + Field B = Field C, entering values in A and B instantly updates C.
- Report issues directly from any field or at the form level by tapping Report Issue.
- View issue history for the asset to see previously reported problems.
Figure 1. Fill Form Details 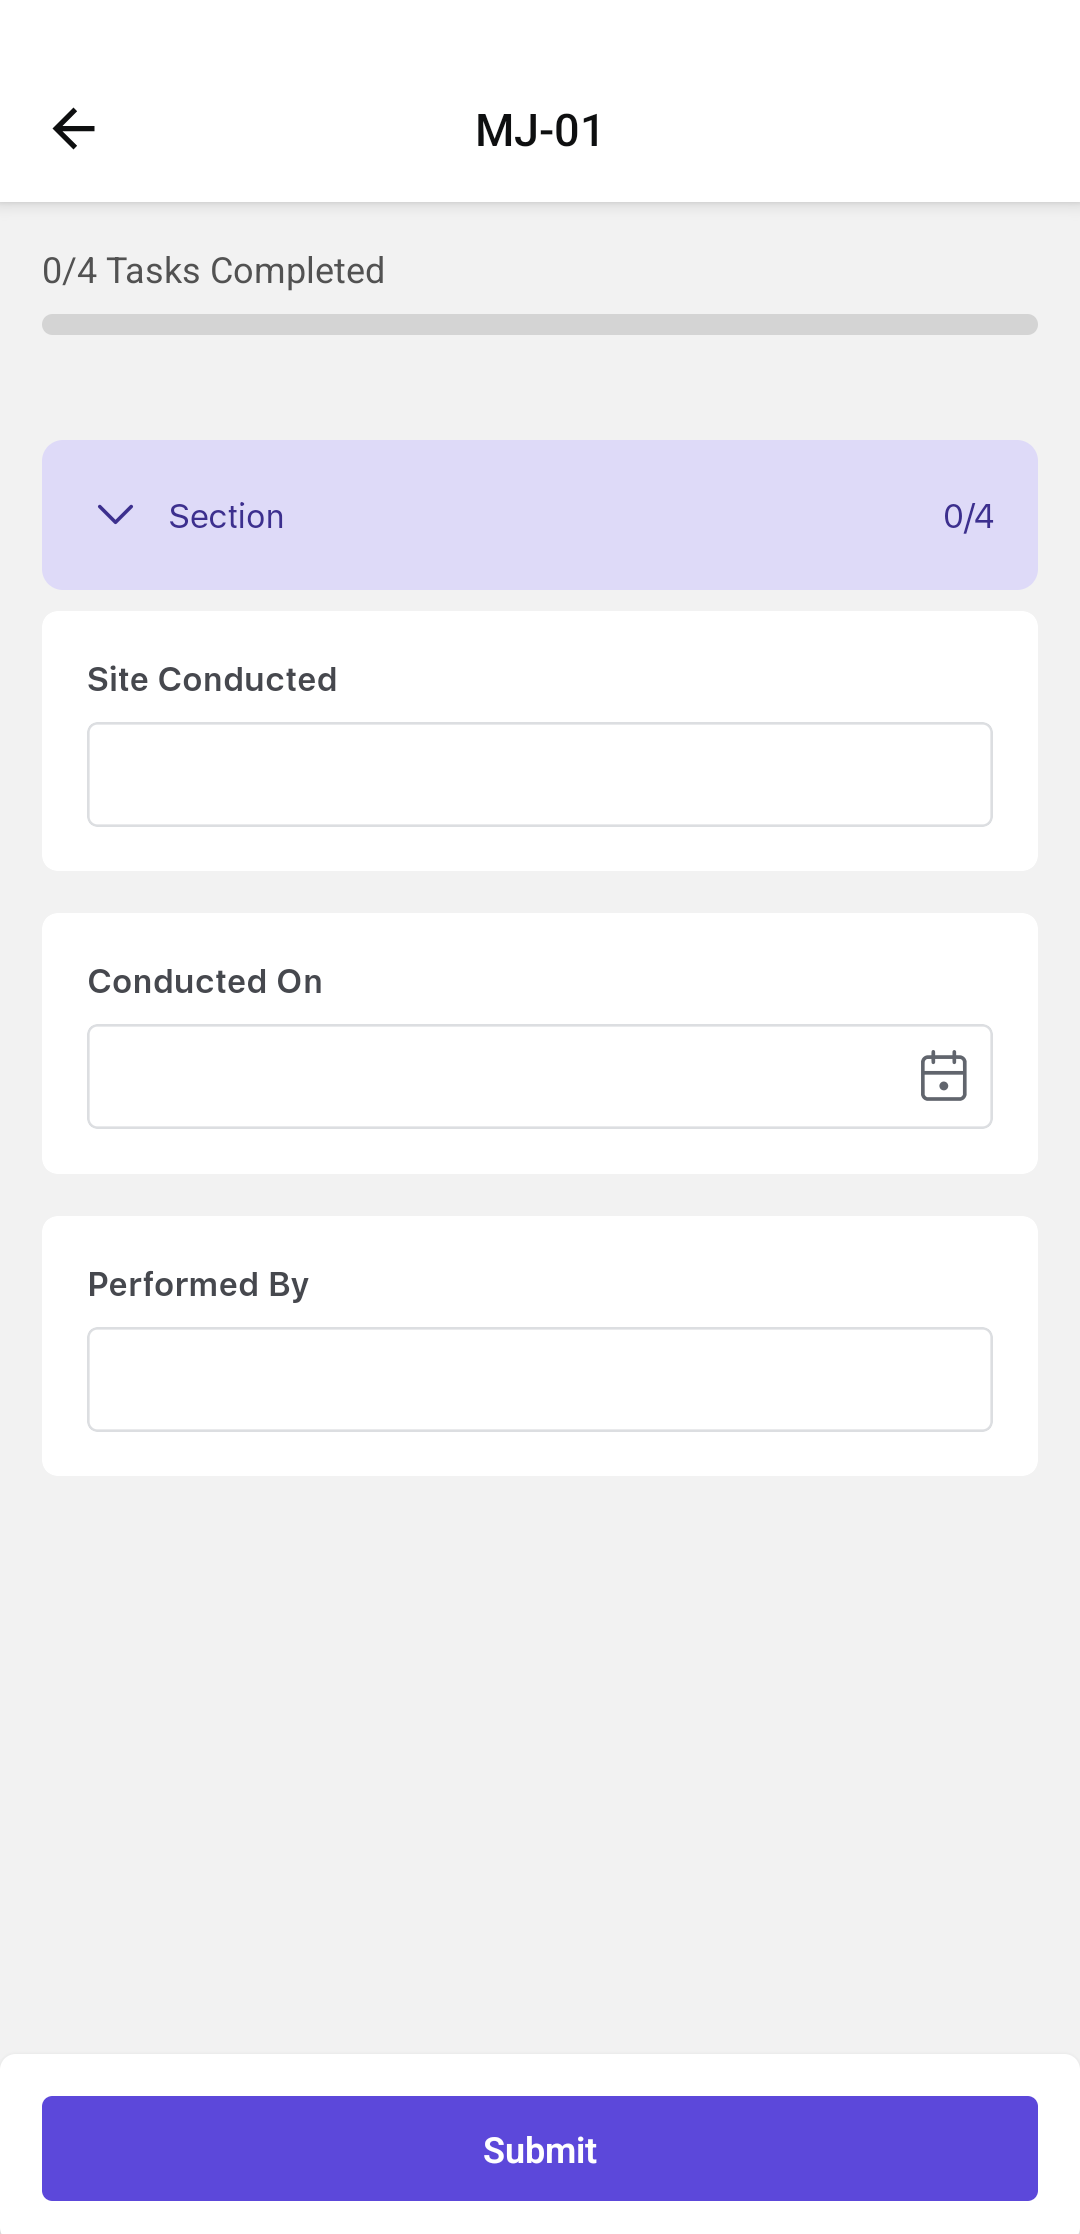
-
Tap Submit.
A message, Form <name> has been submitted successfully, is displayed.Note:You cannot edit the form once it is submitted.
-
In the Success screen, you can,
- Tap Convert to PDF to view the form in PDF format, including images added in the Instructions type.
- Tap Email to share submitted digital forms via email.
- Tap Print to print the form straight from the mobile app.
- Tap Go to Next Form to navigate to the next form.
- Tap Close to navigate back to the forms list.