How to execute the Round Tasks
Round plans contain detailed tasks for asset maintenance checks. As an operator, you just have to follow the steps to execute asset maintenance tasks and capture data.
To execute the rounds assigned to you:
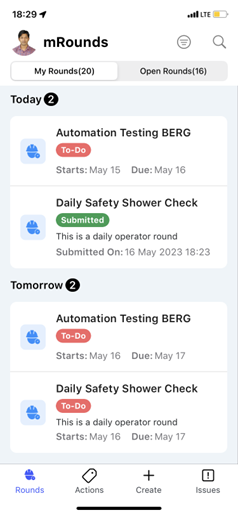
- In the Rounds screen, tap the My Rounds tab.
-
Select a round and tap Start Round.
Figure 1. Start Round 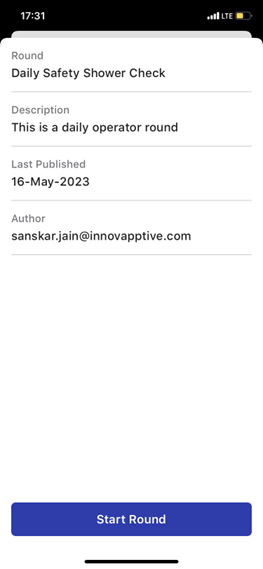
The Round Details screen with assets list is displayed.
Figure 2. Assets Route 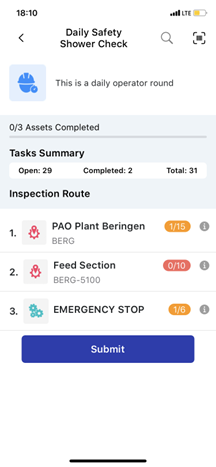 Note: If there are multiple assets associated with the round, the round displays the open and completed task items and the ideal route map that you should take.In this screen, you can,
- Search the assets using Search bar.
- Scan the location or asset using the Scan
 icon on top right.
 - View the assets progress bar, which displays the status of the assets associated with the round.
- View the summary of tasks associated with the asset under the
Task Summary section with the following status.
- Open: The tasks, which are yet to be started.
- Completed: The tasks that are completed.
- Total: The total number of tasks associated with the assets.
- View and access the assets list under the Inspection Route
section with tasks count.Note: : Tap the Info
 icon, to see the
Asset details hierarchy
icon, to see the
Asset details hierarchy - Submit the assets using the Submit button. If the tasks are incomplete, the app displays a warning message when you click the button.
- Select an asset which you want to work on.
-
Scan the asset or skip by tapping the Skip button.
The Asset Details screen with the list of tasks is displayed.
Figure 3. Asset Details with Tasks 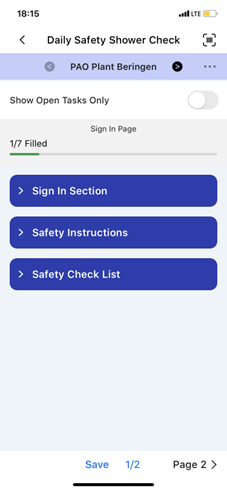 In this screen, you can,
- Scan or verify the asset using the Scan icon to ensure the right round is
executing.
- Navigate through the assets using the
 Previous and Next
  icons and execute tasks.
 - View the asset hierarchy using More
 icon > Show
Hierarchy.
icon > Show
Hierarchy. - Skip the asset, which is not required using More icon > Skip
Asset. Tap More icon >
Unskip Asset to unskip the skipped asset.
- View only open tasks using the Show open tasks only slider.
- The progress bar on the top, which displays the status of the tasks or work completed.
- Navigate through the pages using Page 1, Page 2, Page 3, and so on buttons.
- Scan or verify the asset using the Scan
-
Expand each section in a page to fill the details in the task as you do the
maintenance checks.
Figure 4. Expand Sections 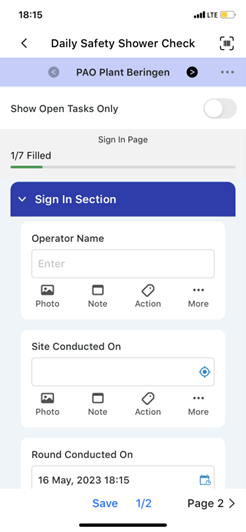
-
Fill in the details in the task using any of the following choices.
- Read Only Field
- Text Answer
- Number
- Number with the Unit of Measurement
- Number Range
- Pop up Message Based on Number Range
- Check box
- Scan
- Date and Time
- Slider
- Geo Location
- Date Range
- Photo
- Signature
- Hyperlink
- Instructions
- Multiple Choice
- Global Picklist
Figure 5. Fill Responses and Execute Tasks 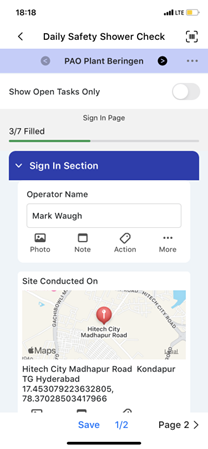 In the task, you can,
- Add photos of an asset or equipment using the Photo
 icon.
icon. - Add notes or additional information using the Note
 icon.
icon. - Create an action for the asset using the Actions
 icon. For more
information, see Create an Action.
icon. For more
information, see Create an Action. - Create an issue for the asset using the More
 icon > Create
Issue. For more information, see Create an Issue.
icon > Create
Issue. For more information, see Create an Issue. - Skip the task when it is not mandatory or not required using
More
icon > Skip Task.
Tap Unskip near the skipped task to unskip the task.Note: You can select a relevant reason such as Offline, Out of Service, Inaccessible, or Task not relevant for skipping the tasks.
- Tap Page 1, 2, or 3... to navigate to the next page.
-
Tap the Save button if you want to save and update the round details
later.
Figure 6. Save Round 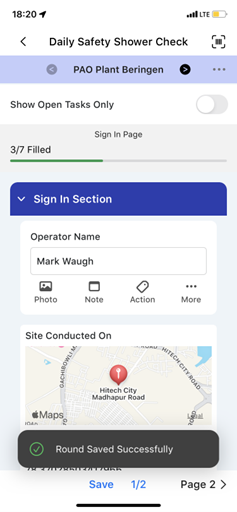
A message Round Saved Successfully appears, and the status of the round is changed to In Progress. This saved round appears in the My Rounds tab under the In Progress section.
-
Tap the Submit button, after filling in all the details.
Figure 7. Submit Round 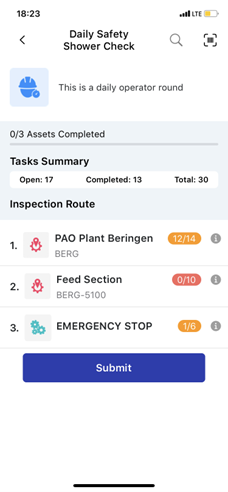
Figure 8. Submit Round Success Message 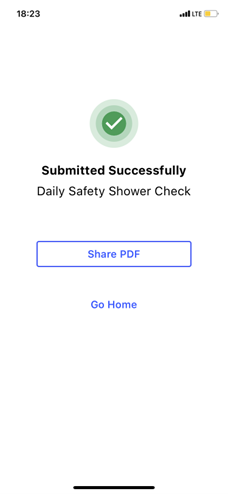 A message Round Submitted Successfully appears with the Share Round, Download Round, and Go Home buttons, and the status of the round is changed to Submitted. This submitted round appears in the My Rounds tab under the Submitted section.
Figure 9. Submitted Rounds