
View Equipment Details
Review equipment information, related work, documents, hierarchy, and measuring points.
Use the Equipment module to confirm the asset and review the information available to maintenance technicians. Available tabs and actions depend on configuration and permissions.
- Select the equipment from the list.
You can also use the available scan action when the equipment has a supported code.
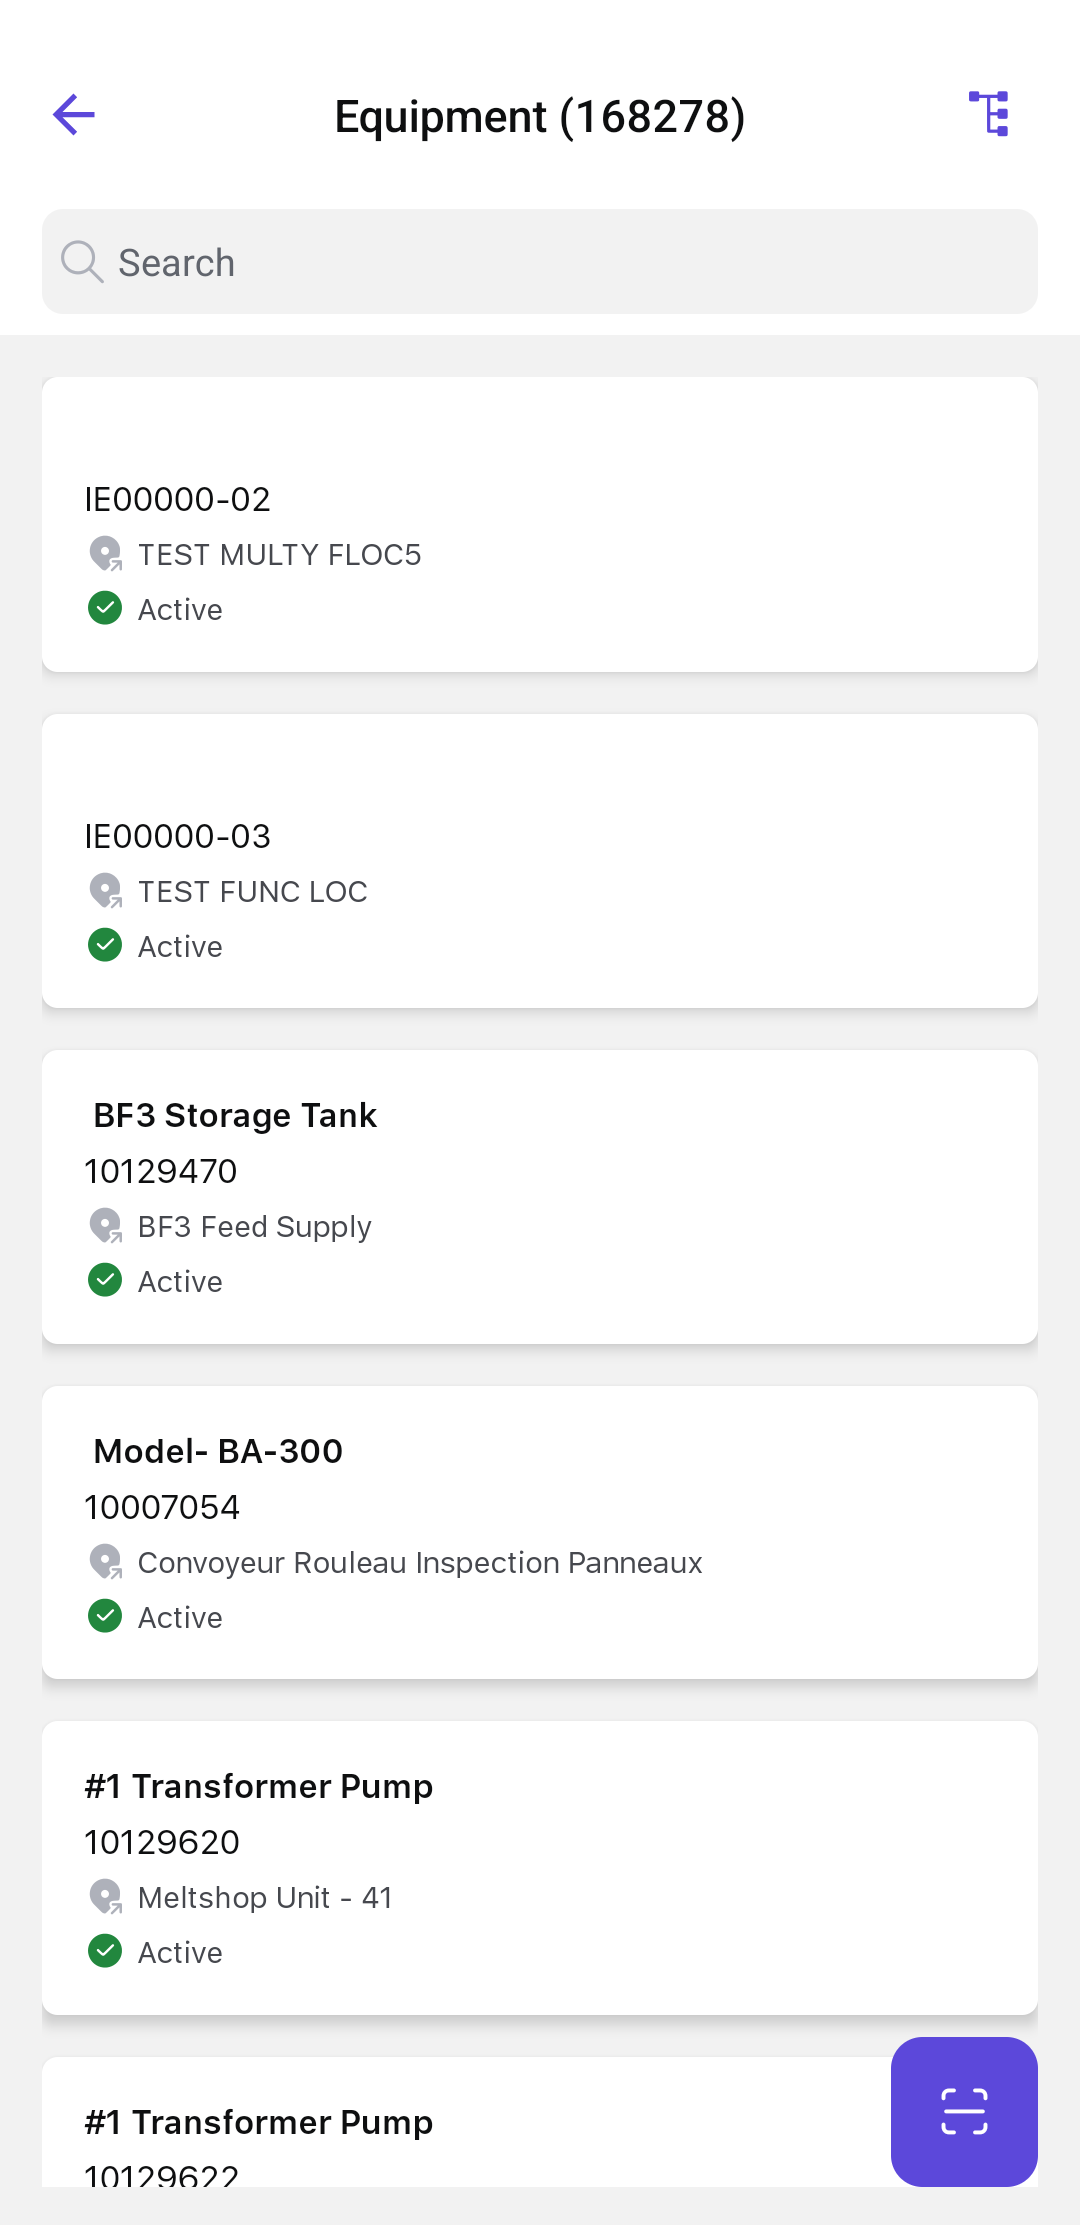
The selected equipment record opens so you can report an issue, review related work, and take readings.
Review Related Work and Asset Information
The Dashboard displays the equipment information configured for your organization, such as related work orders, issues, status information, trends, or alerts. Do not treat a displayed trend as a maintenance decision unless it is supported by the approved site process.
You can identify related maintenance activity and continue with an available role-based action.
Review Equipment Master Data and Documents
The Details area can include General, Location, Organization, Structure, Classification, Warranty, Partner, and DMS attachment information.
- Open the equipment Details tab.
- Review the applicable information sections.
- Open an attachment or related object when additional information is required.
The equipment master data and available supporting documents are displayed.
Review Measuring Points and Readings
The Measuring Points tab appears only when the module is enabled and your role has access.
- Open Measuring Points.
- Search by measuring-point number or description when required.
- Review the Measuring Point ID, position, description, last reading, and available history.
- Open the reading history or select Take Reading when the action is available.
- Use the Add action to create a measuring point only when your role and site process permit master-data creation. See Create a Measuring Point.
The selected measurement history or reading-entry screen opens.