Add Attachments
To provide better clarity on the maintenance or repair task, attach supporting files such as photos, videos, PDFs, or voice recordings. These files help show the actual issue, provide proof of work done, and make it easier for your supervisor to review and close the Work Order.
For example, instead of just writing "oil leak found," you can take a photo of the leaking area and add a quick voice note explaining where it’s coming from. The supervisor can immediately assess the issue and send the right team with the right parts—saving time and reducing back-and-forth.
This helps,
- Reduce miscommunication
- Improve first-time fix rates
- Speed up supervisor approvals
- Strengthen documentation for audits and compliance
- Lower MTTR (Mean Time to Repair)
To add Attachments:
- In the Work Orders screen, tap the Work Order List tab.
- Open the assigned work order.
-
Tap on the Attachments section.
Figure 1. Add Attachments 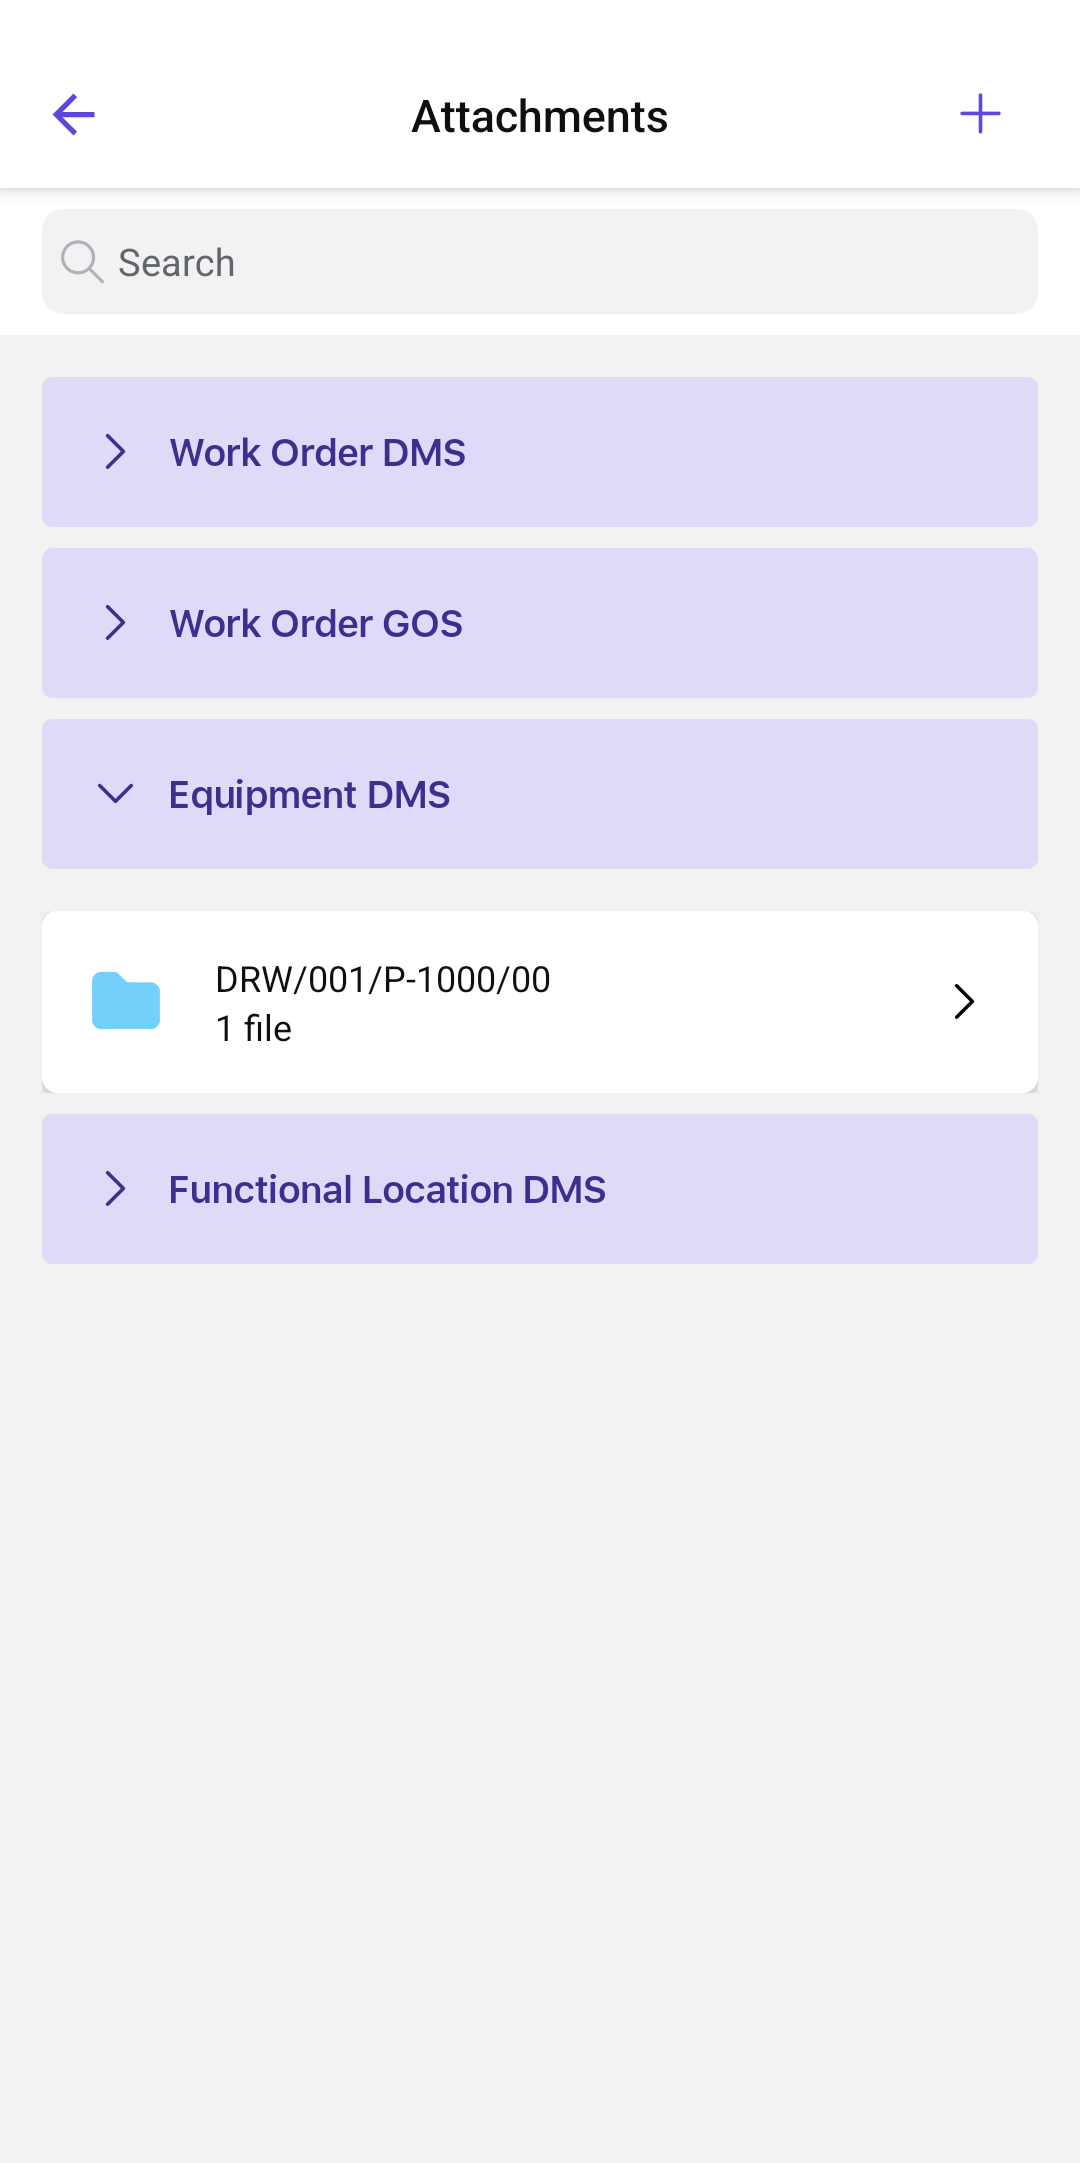
-
In the Attachments screen, tap the Add
 icon on the top right corner.
-
Select one of the following options from the pop-up:
- Take Photo/Video: Capture a new photo or video.
- Choose from Library: Select a photo or video from your device.
- Record Voice Note: Tap the red button to record, then tap Done.
- Upload Documents: Select a document from your device.
Note:You can zoom in and zoom out the attachments to have a clear view. - Select the file destination (GOS, DMS, or SharePoint).
- Select the document type.
- Tap Save.